
From the Framing Desk: How to Wire a D-Ring Frame
12/10/2021

Framing Associate Isabella Guisasola walks us through the steps of wiring a frame - just in time for any last-minute wiring jobs or fixes for the holidays!
1. Gather your tools
Make sure you have the right frame for this technique! There should be two D-rings on the back of the frame that look something like this:
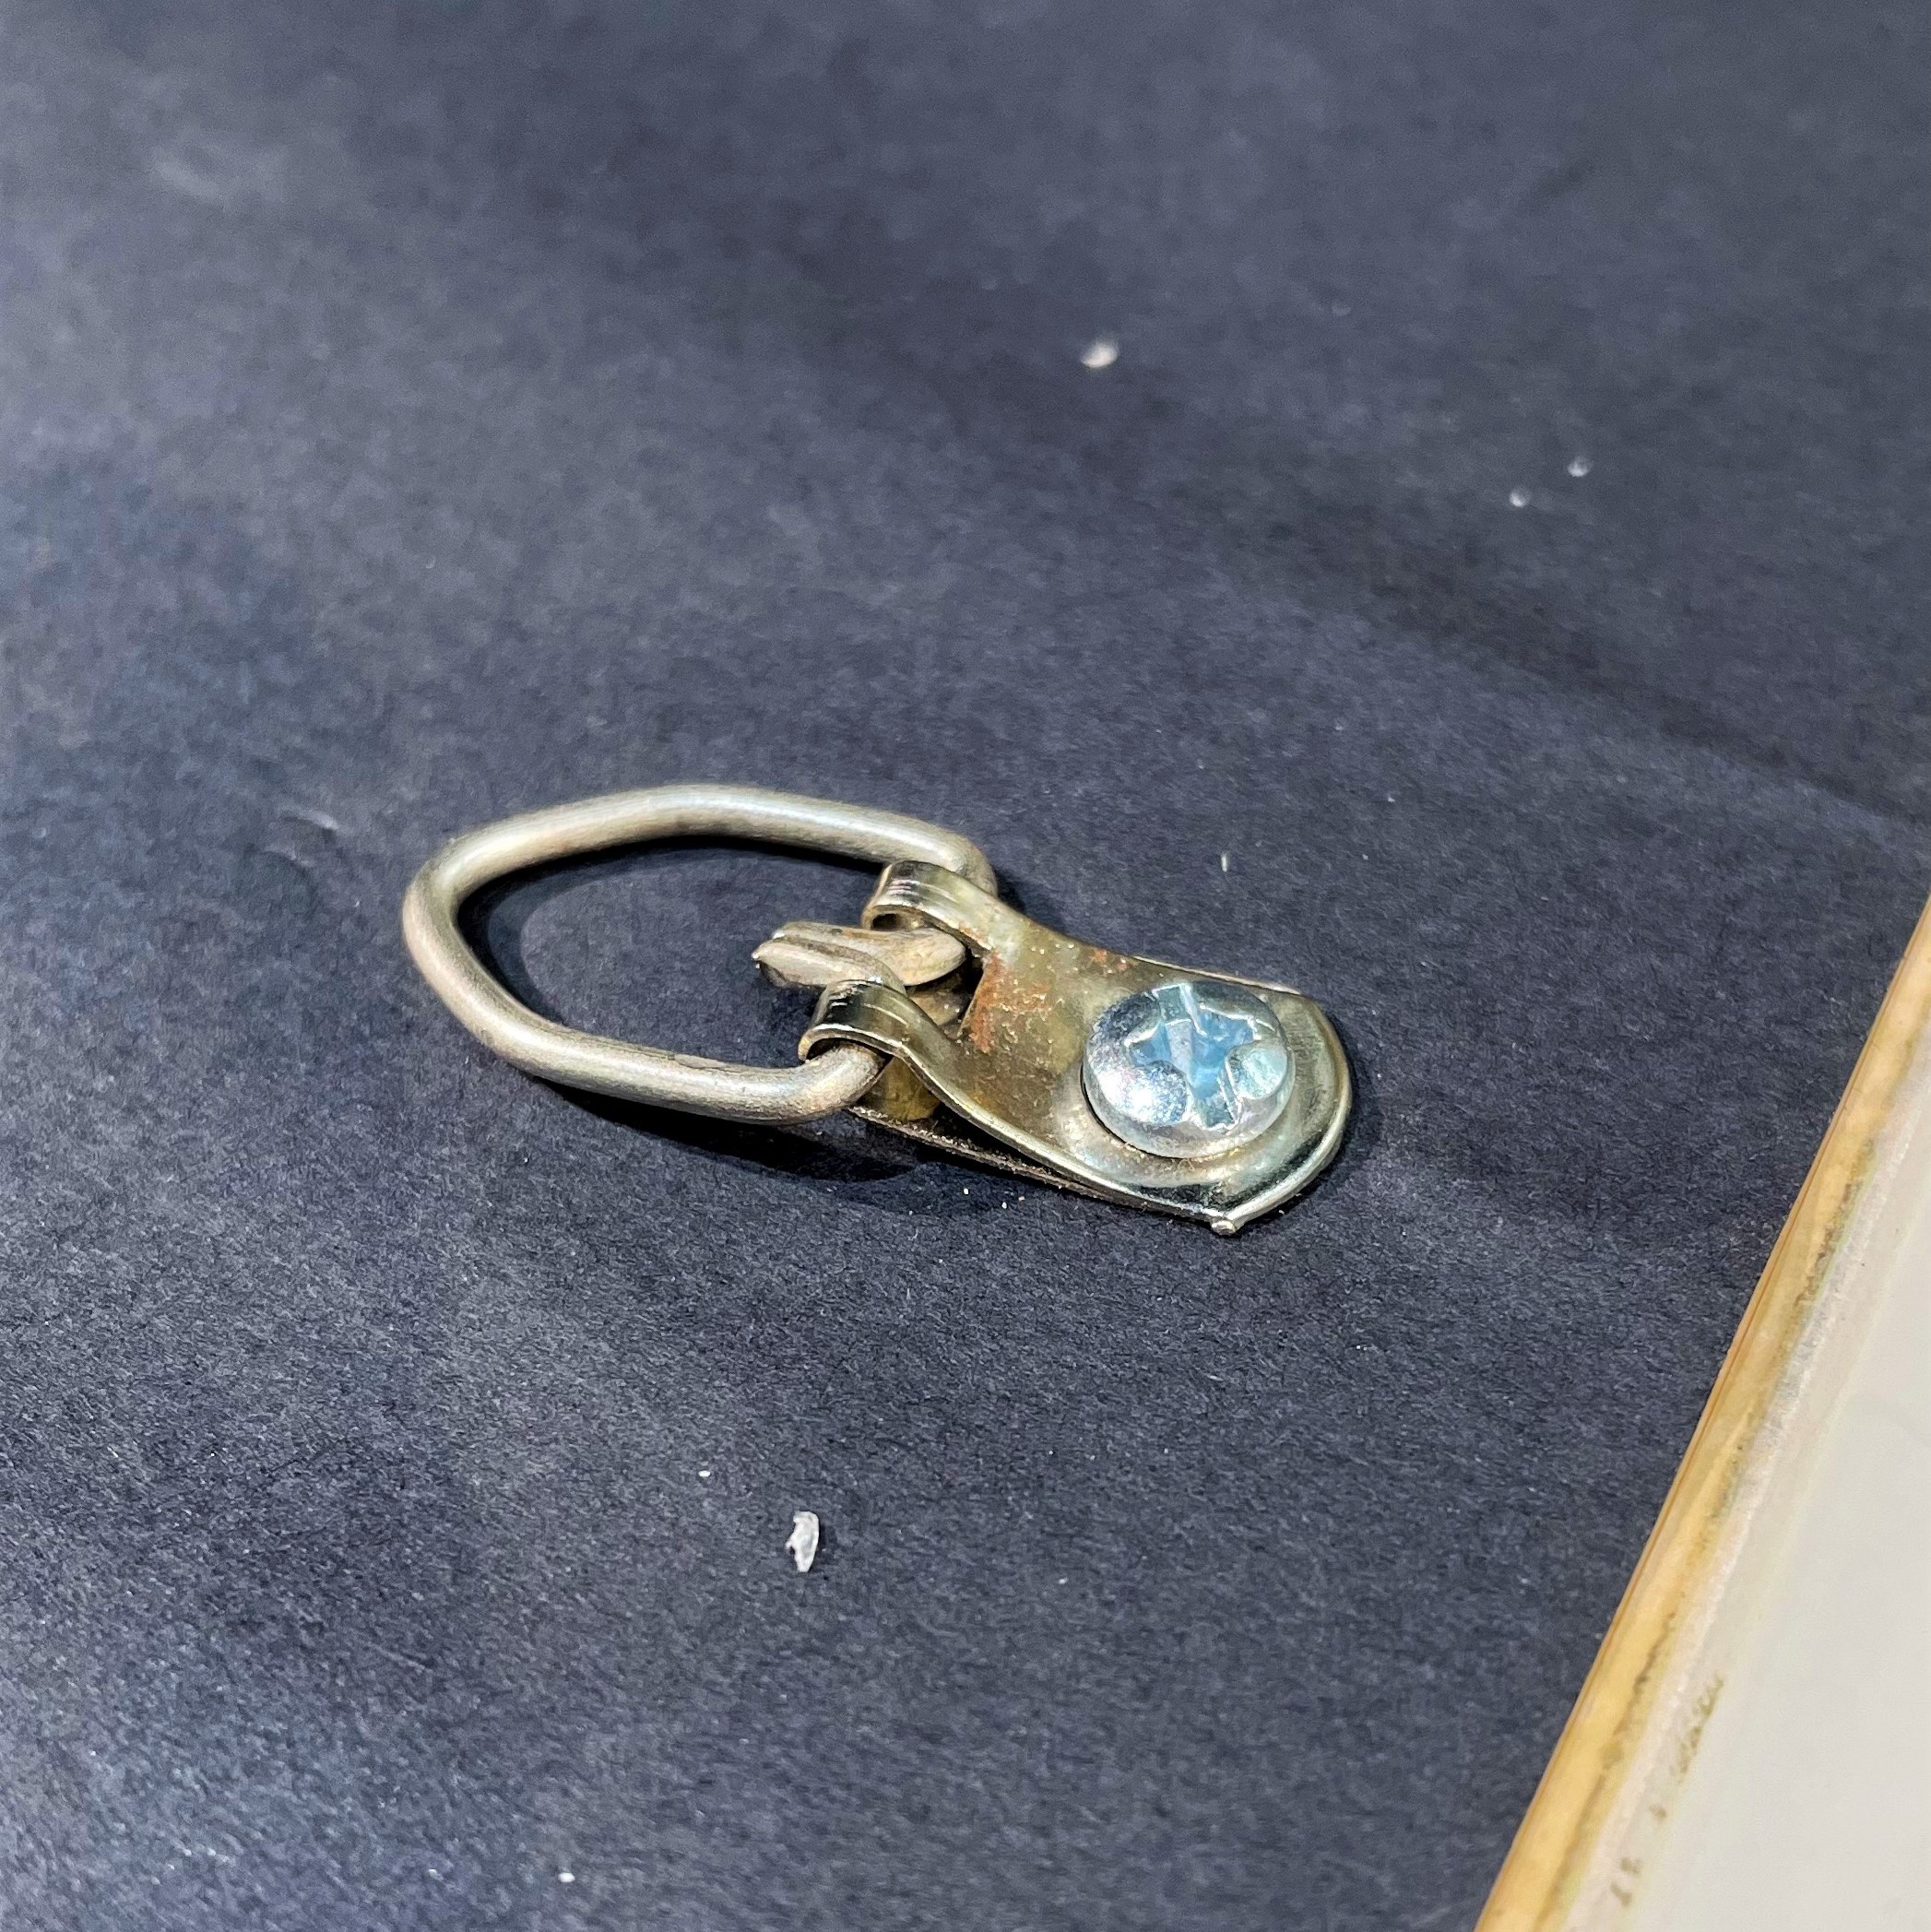
Closeup of a framing D-ring
The back of a frame with two D-rings
You will need the correct type of picture framing wire. The heavier the frame, the thicker the wire should be. Check the wire packaging for the weight limit – it should say something like “Holds up to ---- lbs.”
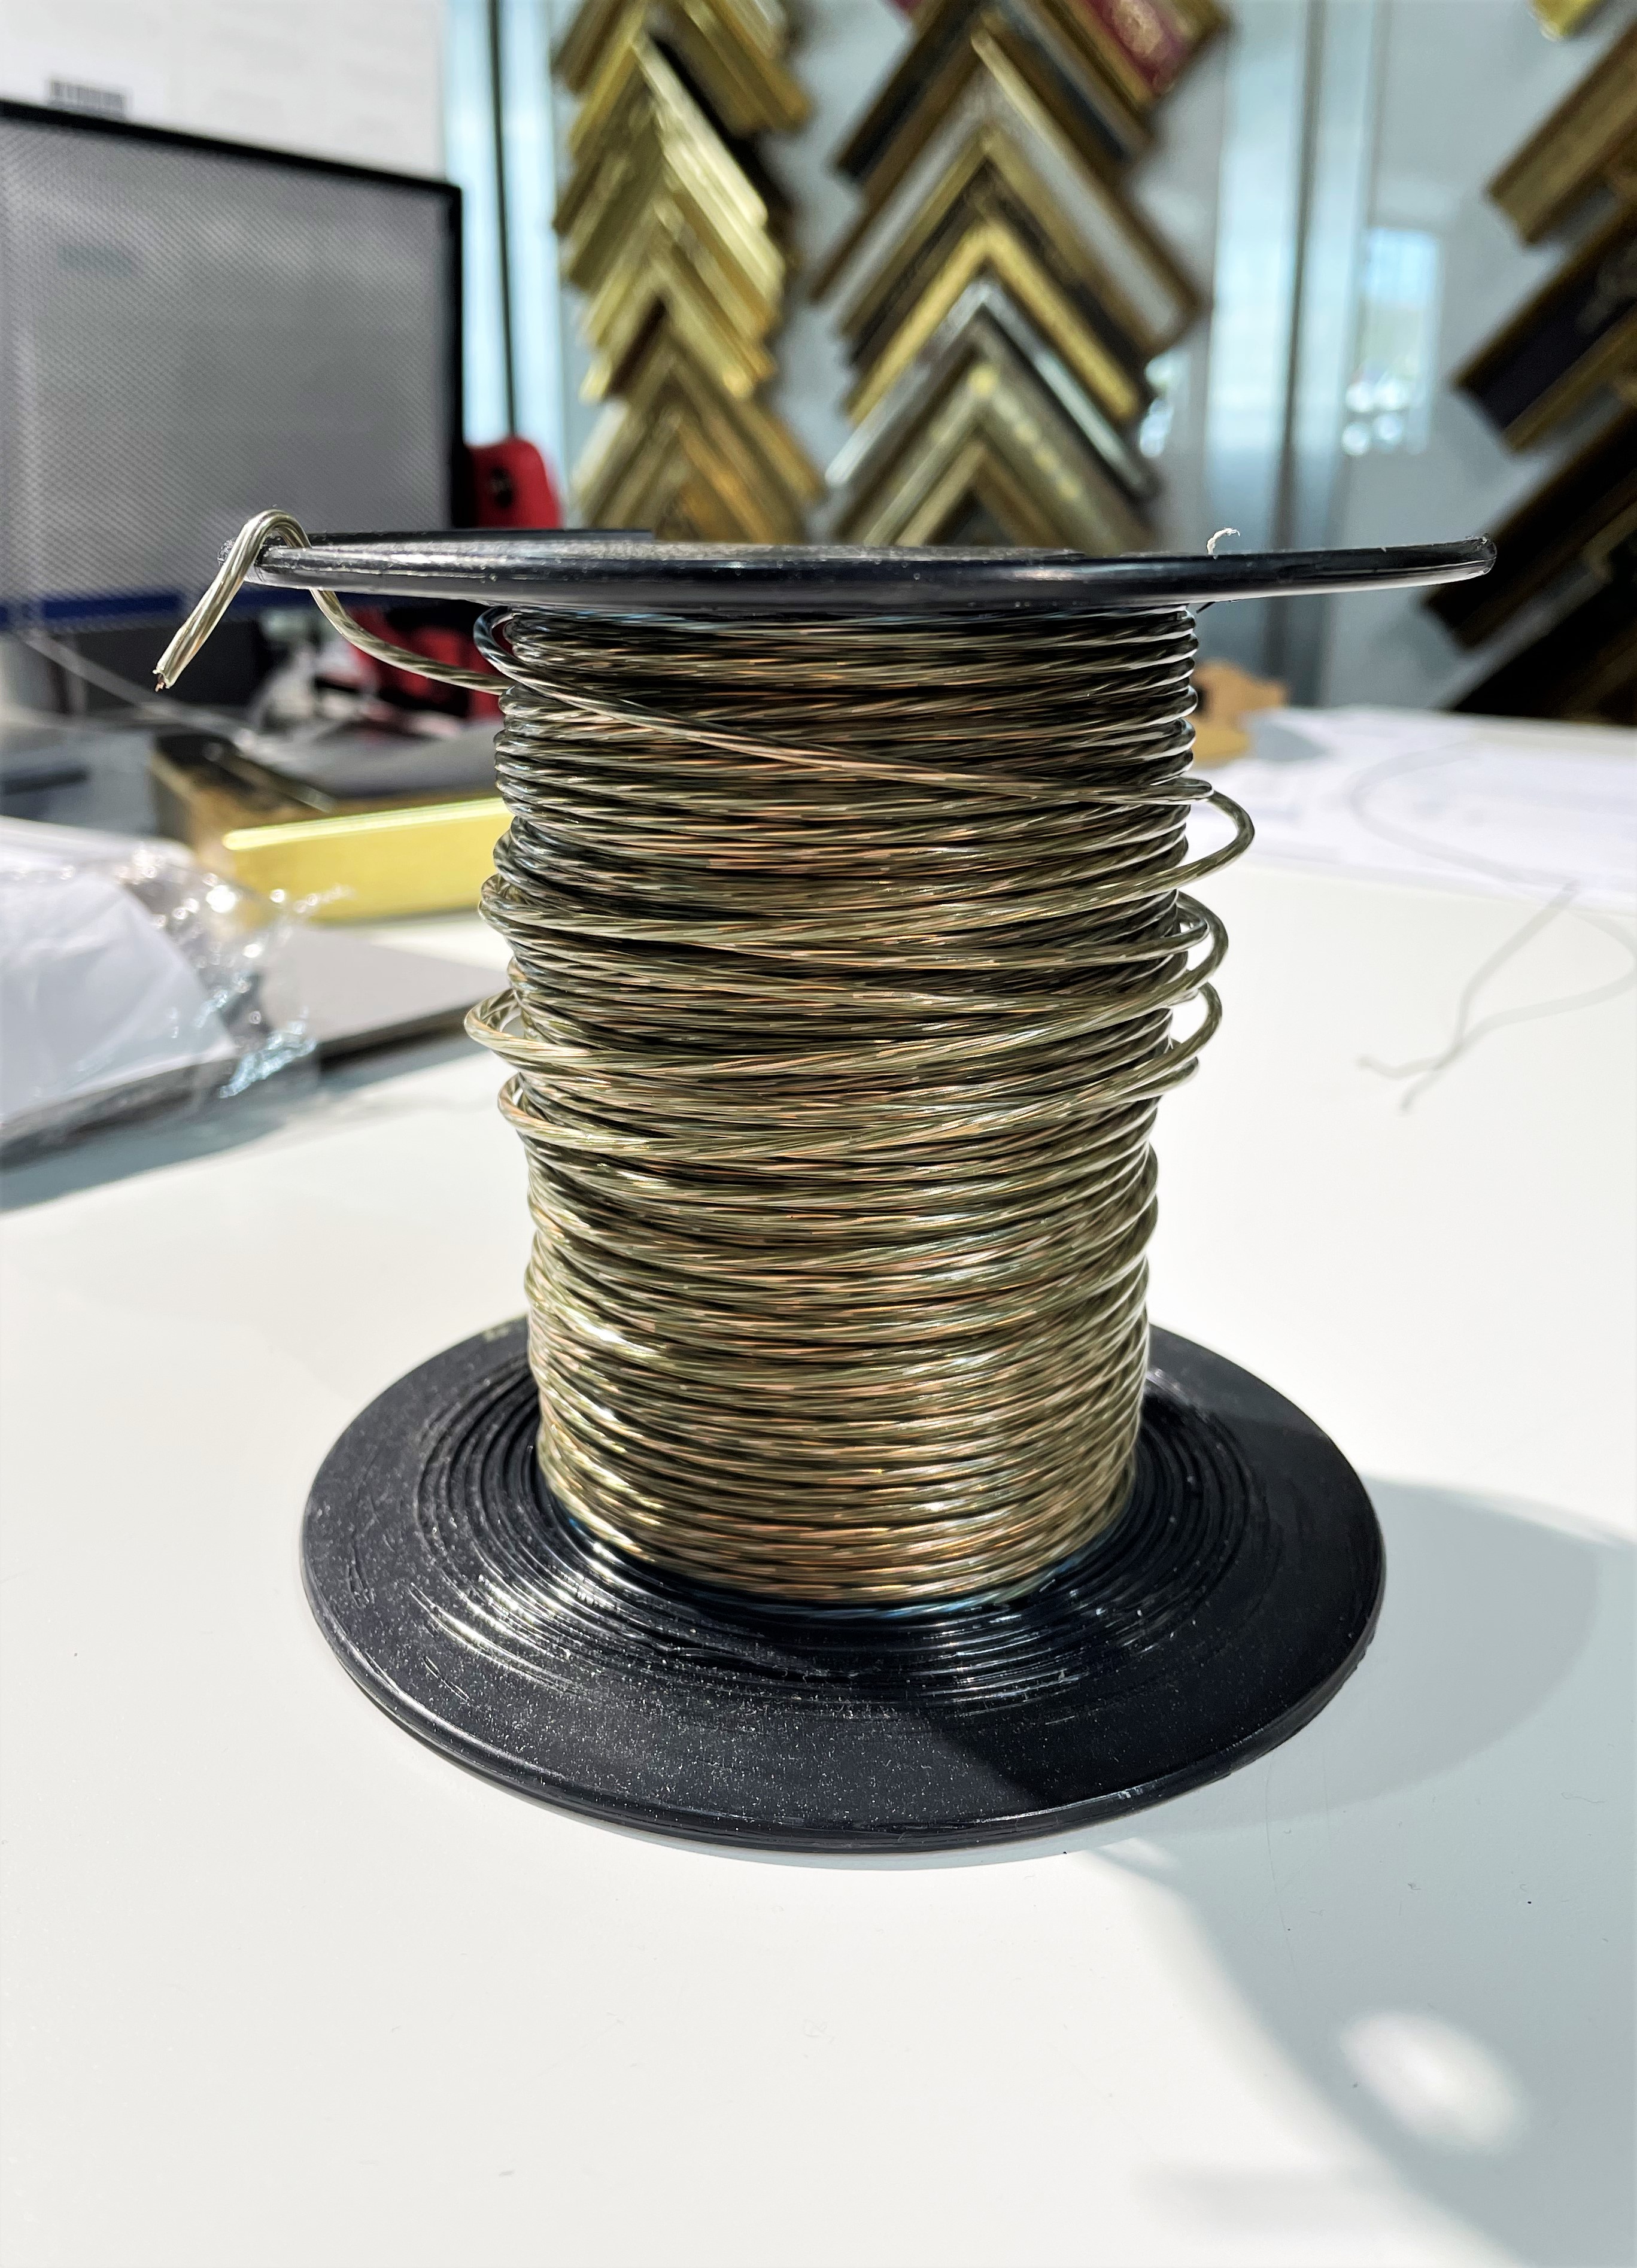
An example of framing wire
Finally, you will need some wire cutters!
Ready? Let’s wire!
Note: Some frames should not be wired as the weight could warp the piece and make it start to bow. If you’re not sure whether to wire your frame, check with your local framing expert (aka Michael Murphy Gallery!).
2. Threading the needle
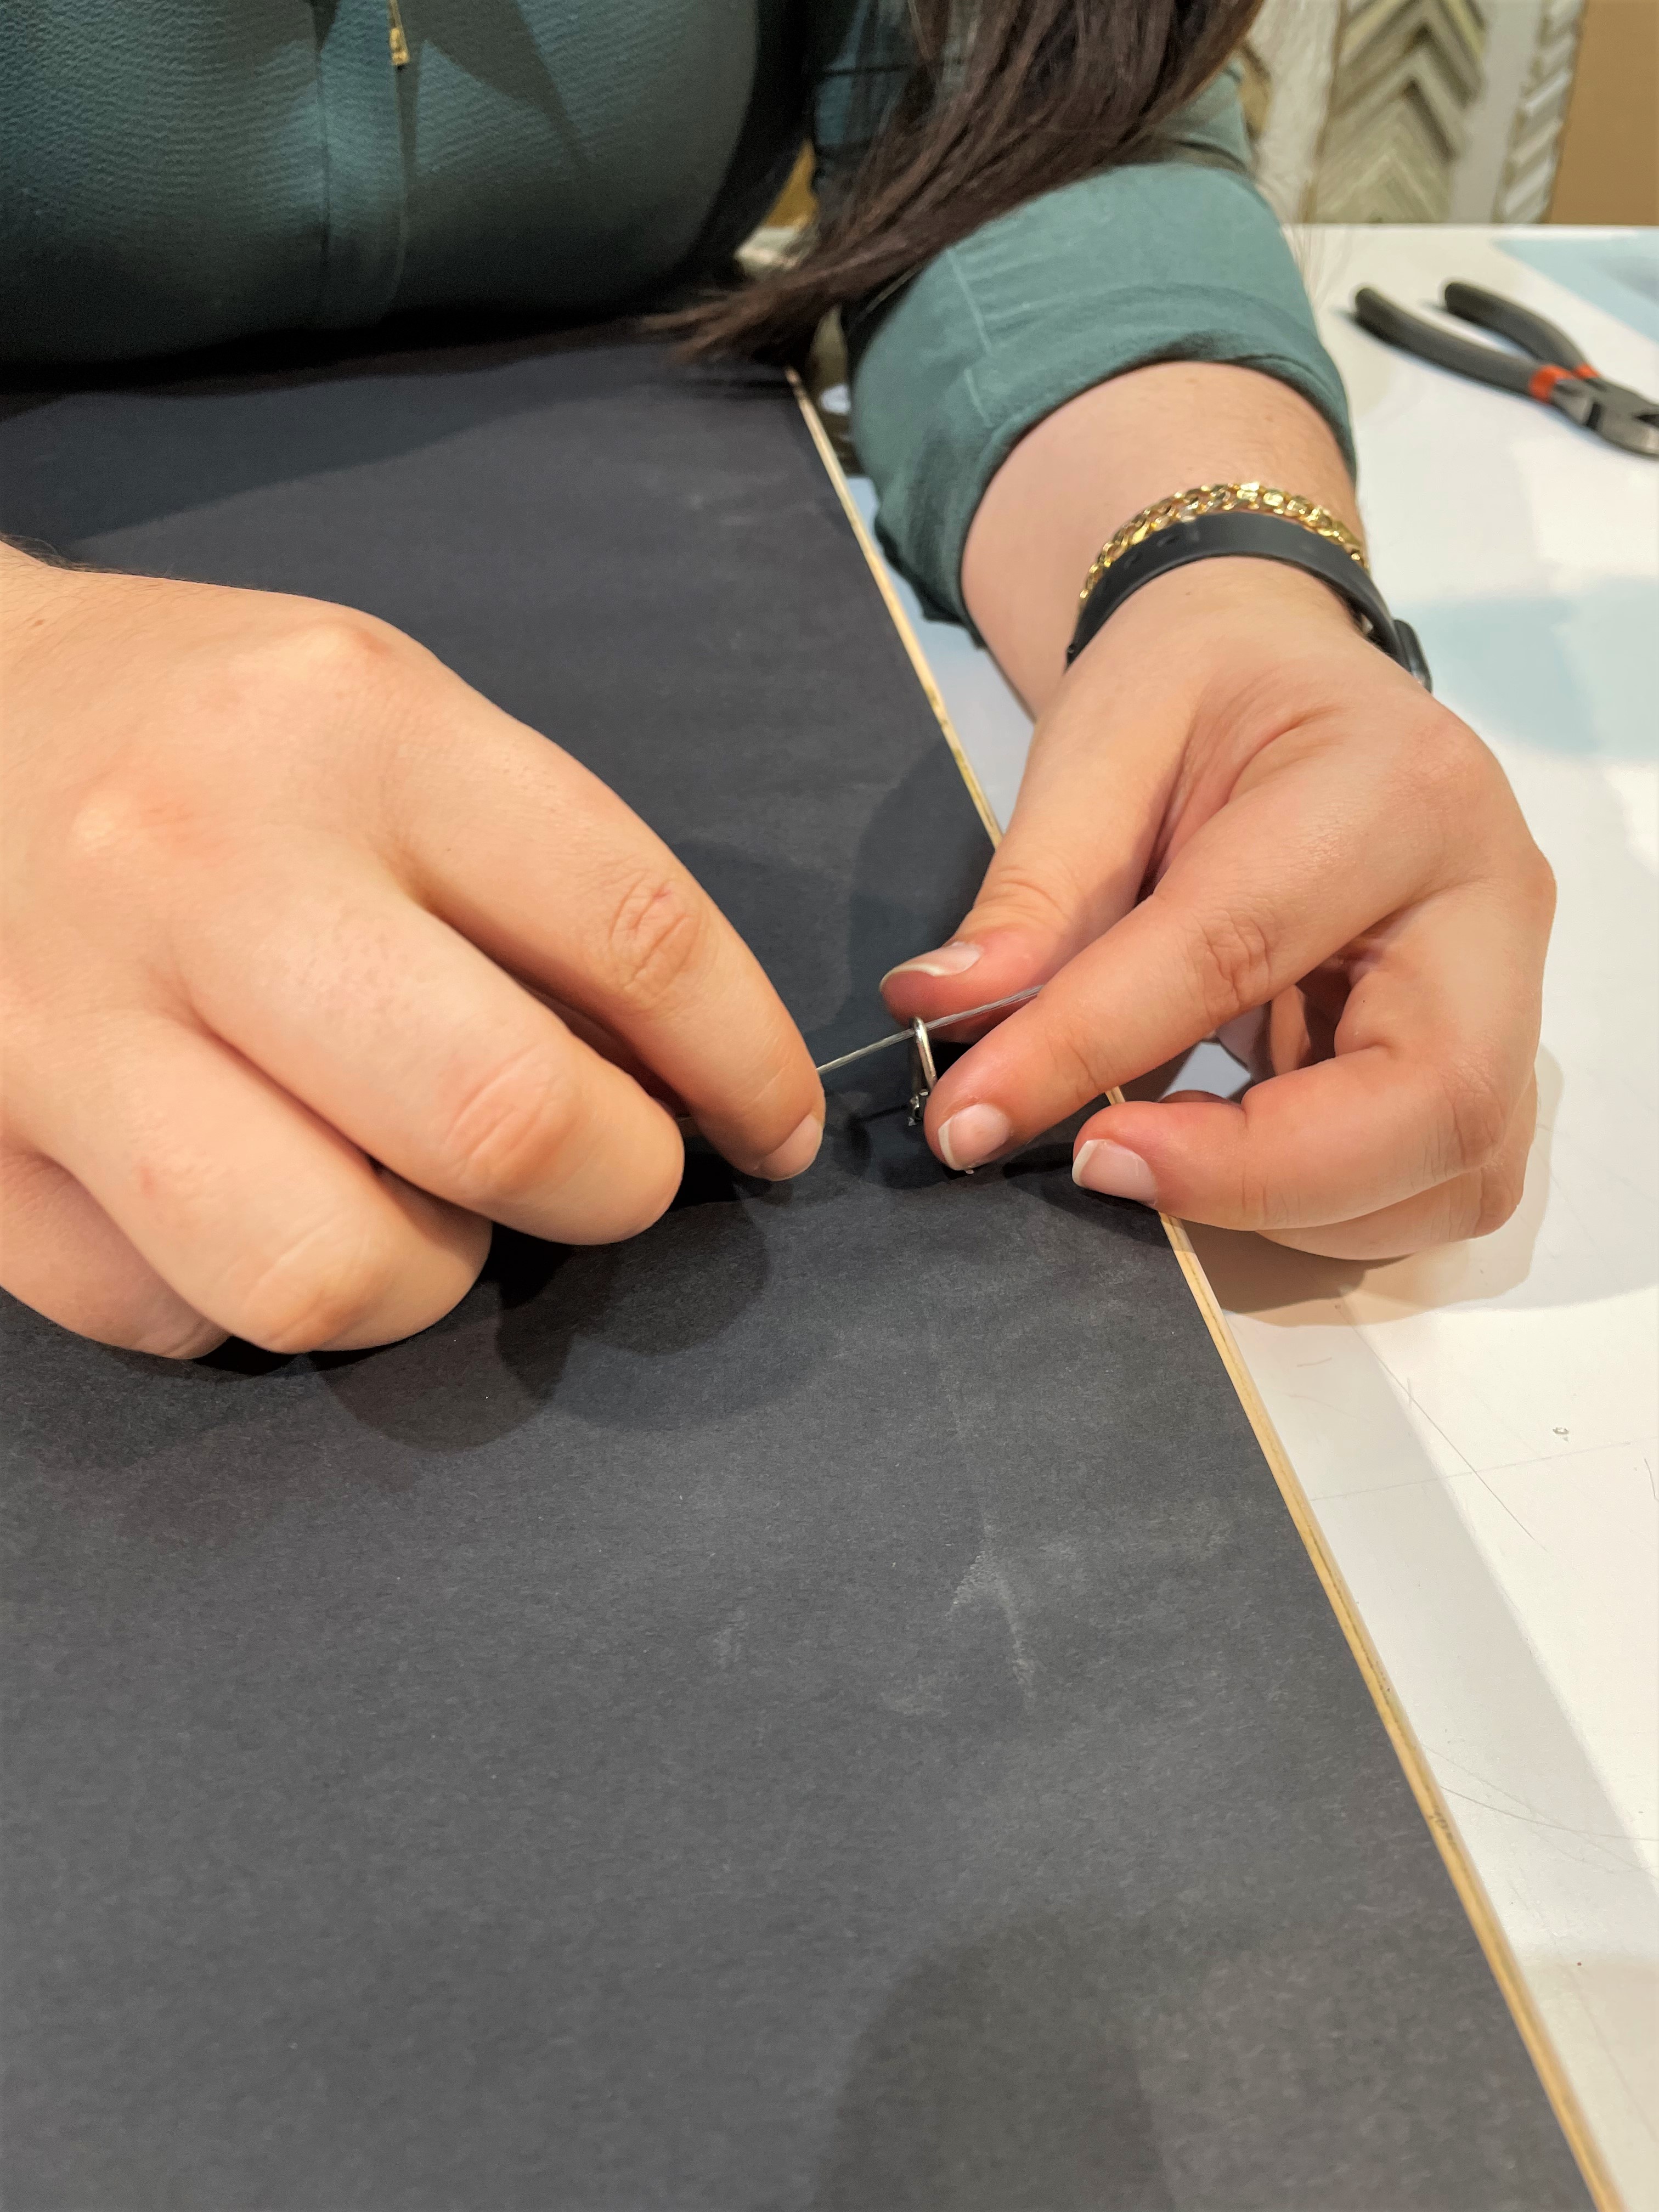
Take the end of the picture framing wire (still on the roll!) and thread it through the left-hand D-ring, from the inside of the frame moving to the outside. Pull around 3-4 inches of wire through the ring.
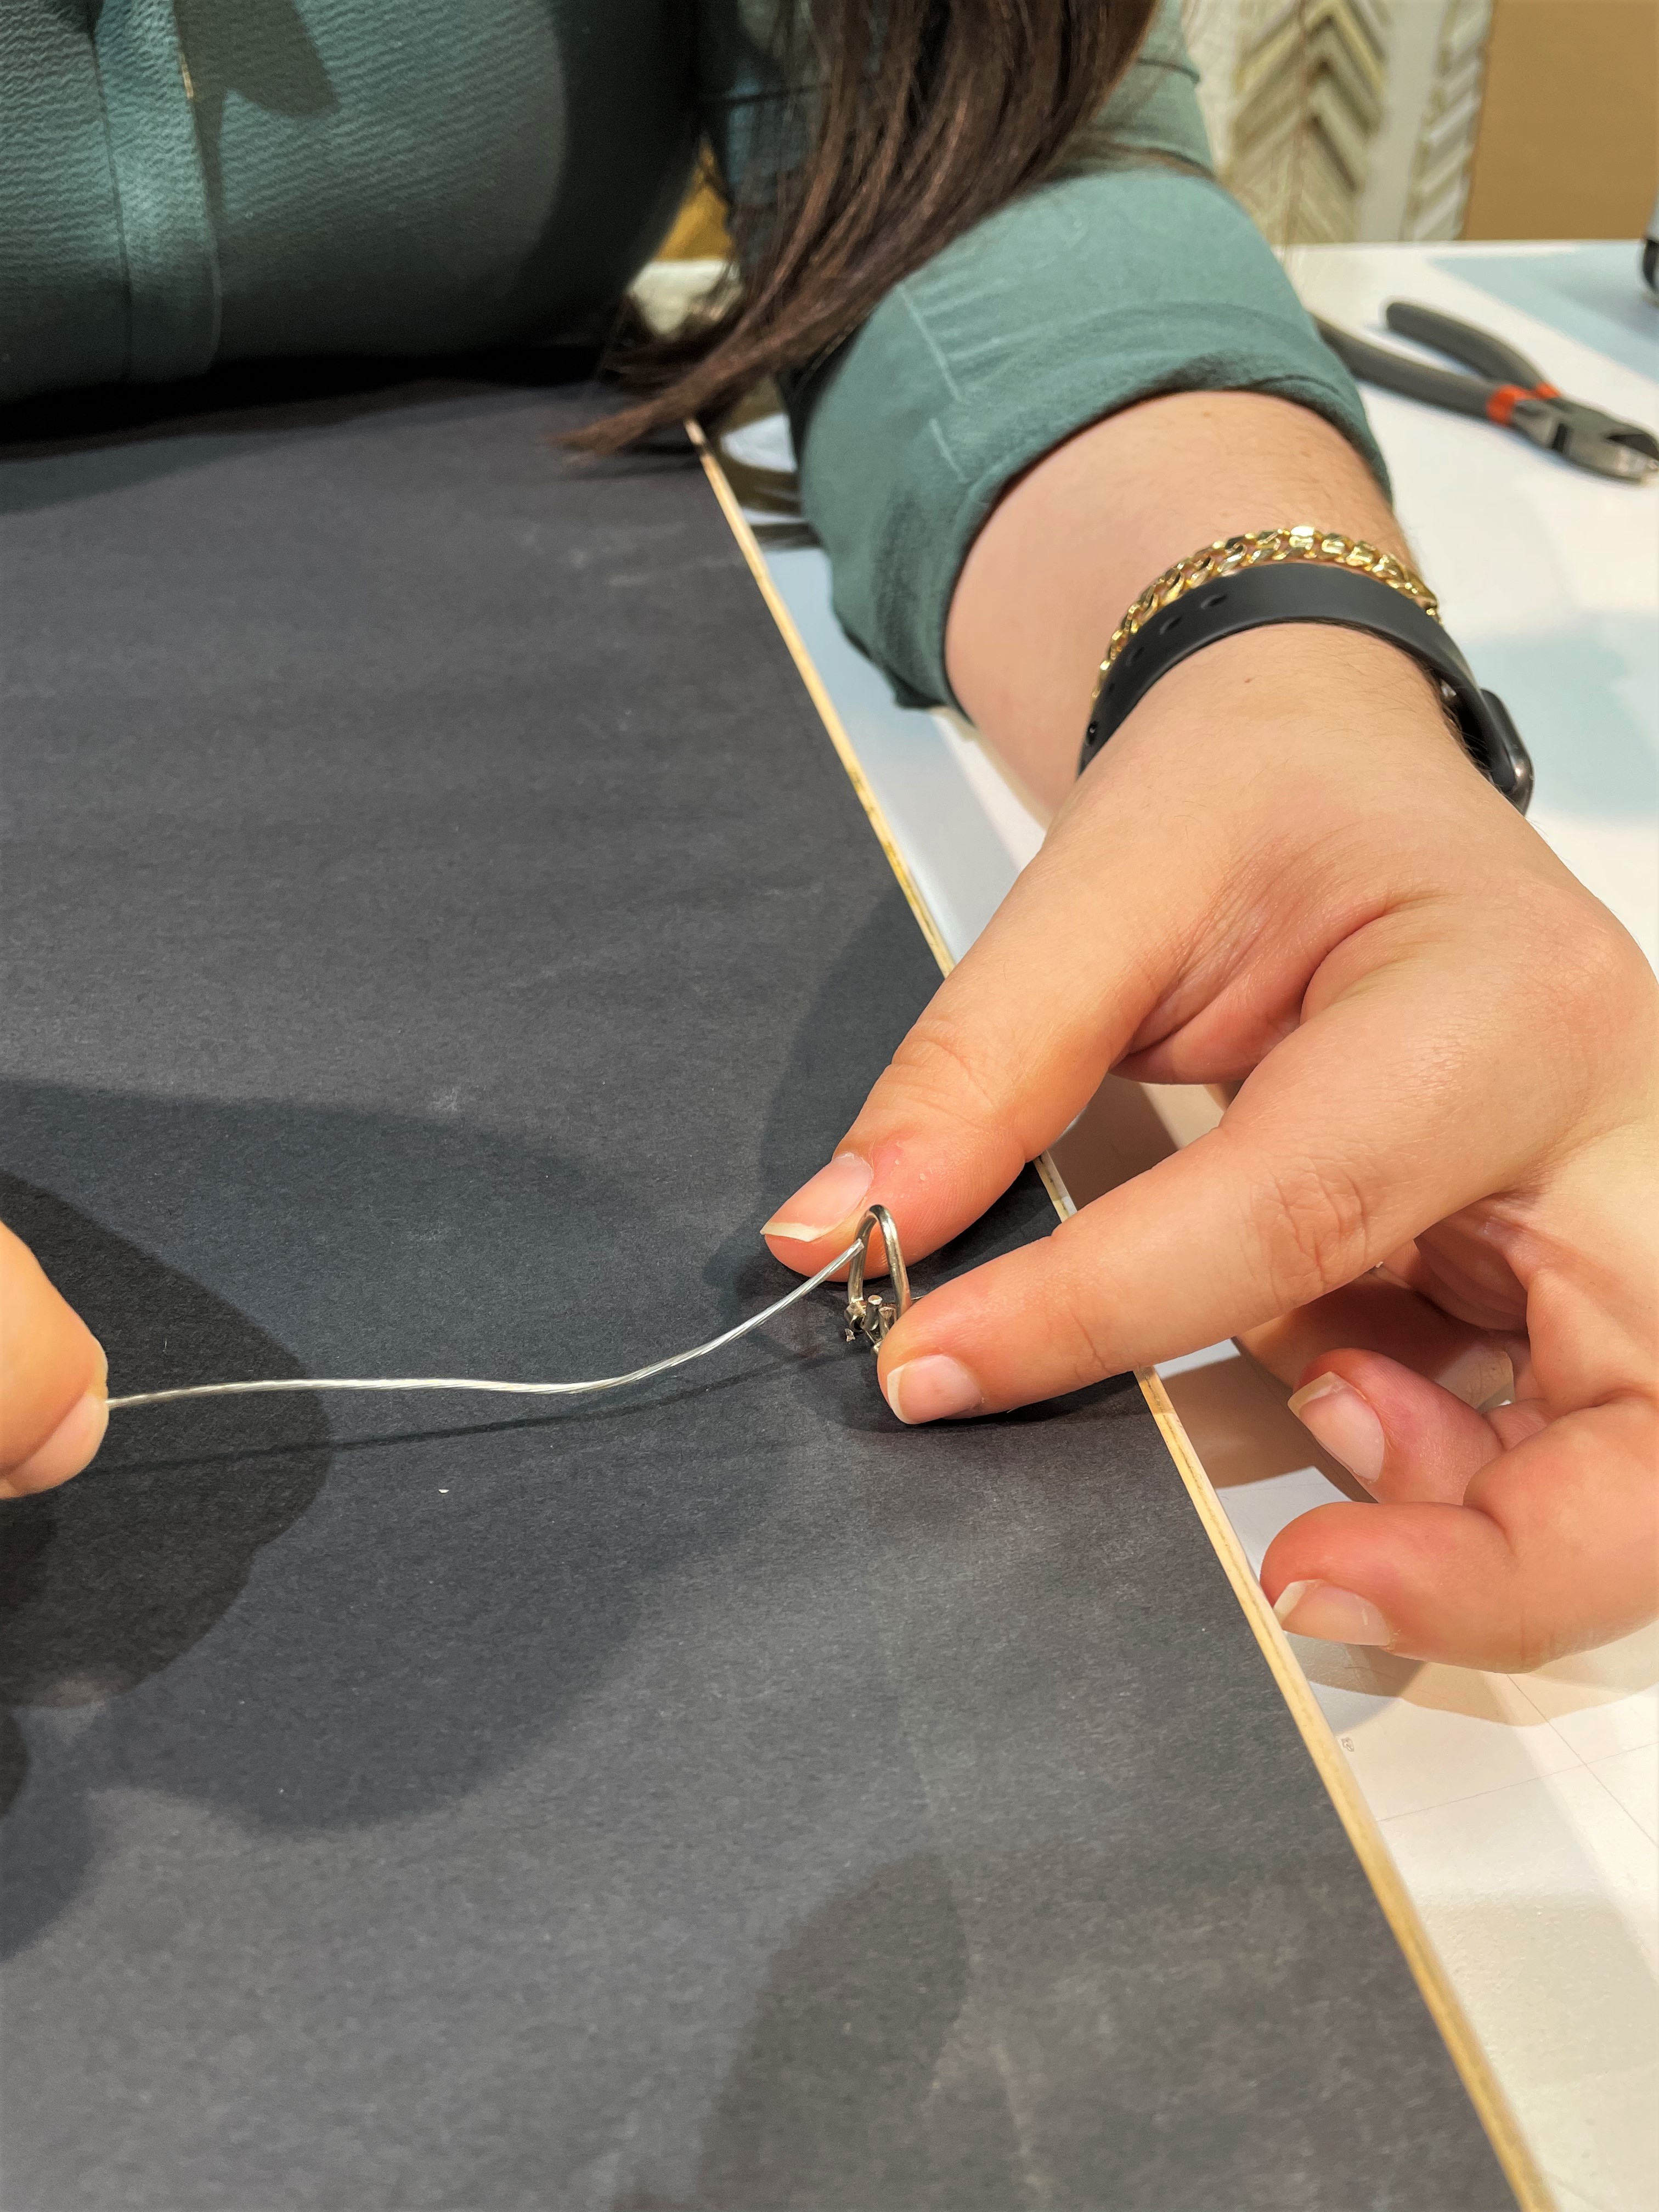
Threading from the inside of the frame to the outside
Threading...

Threaded!
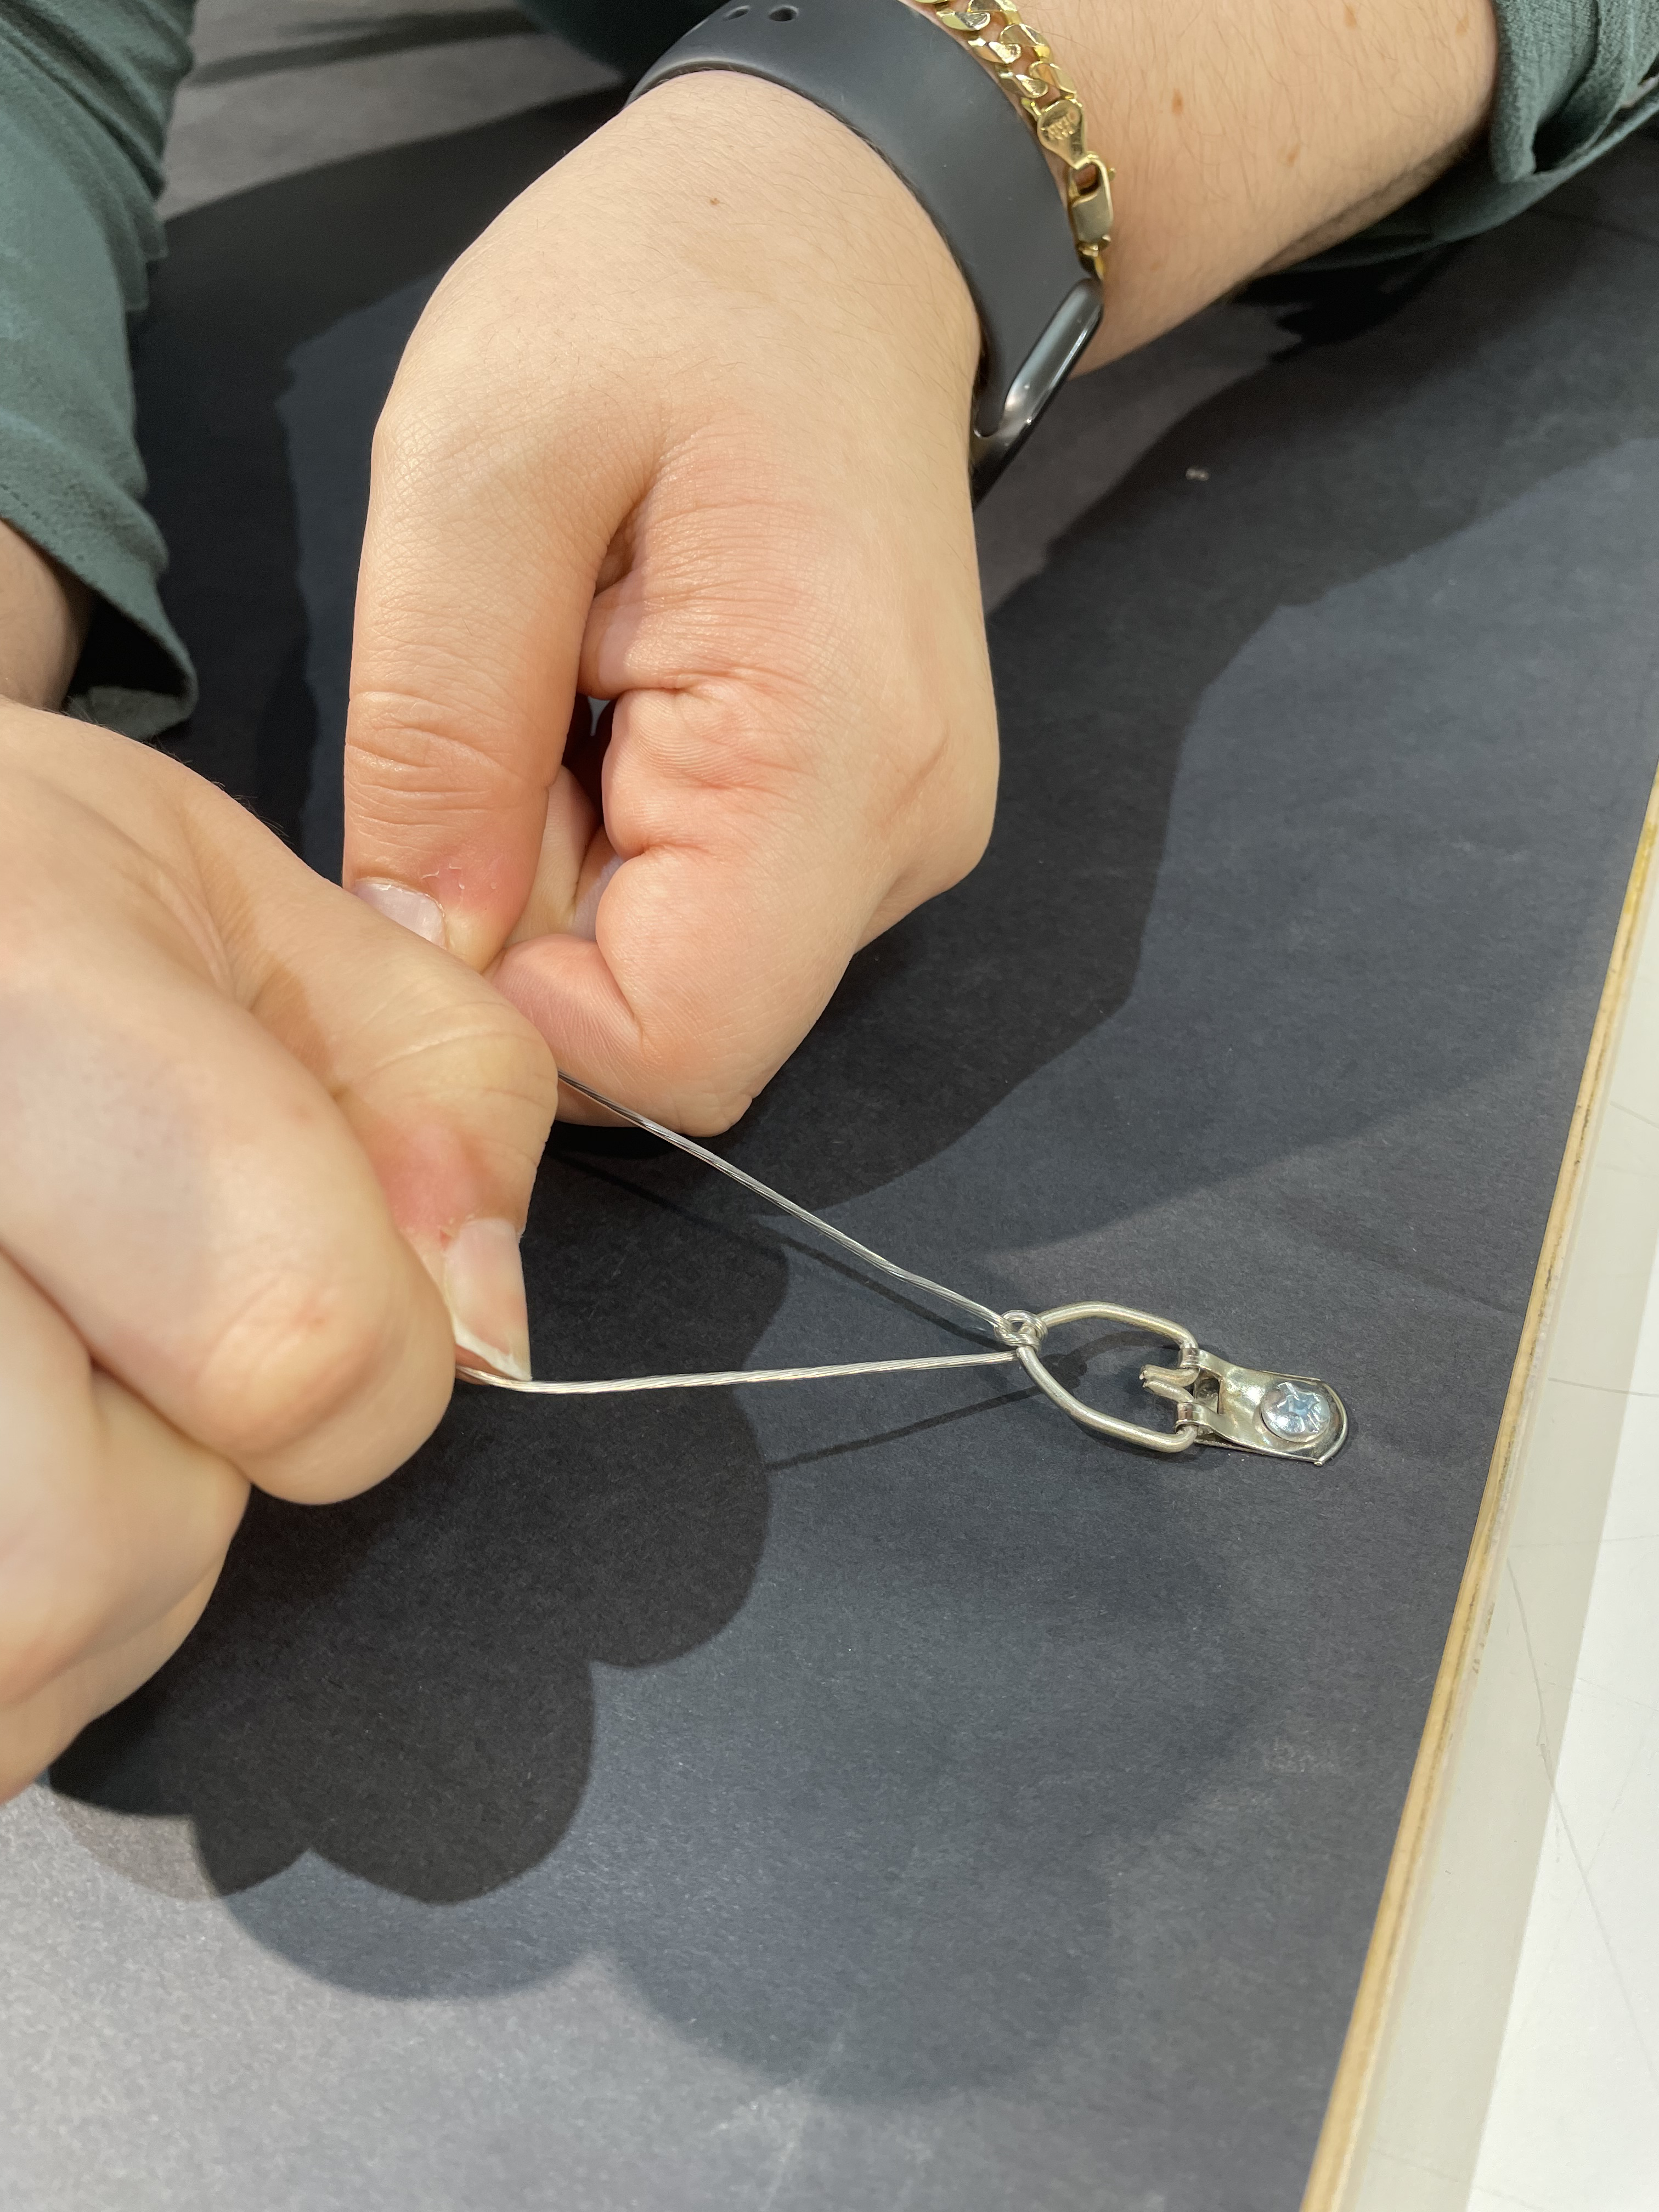
Once the wire is threaded through the D-ring, pull the wire back towards the inside of the frame, pulling it taut. In your right hand, you should be holding the wire coming from the roll; in your left hand, you should be holding the end of the wire. Loop the end of the wire under and around the wire in your right hand so that it’s now facing the outside of the frame. It should form a little “U” shape!
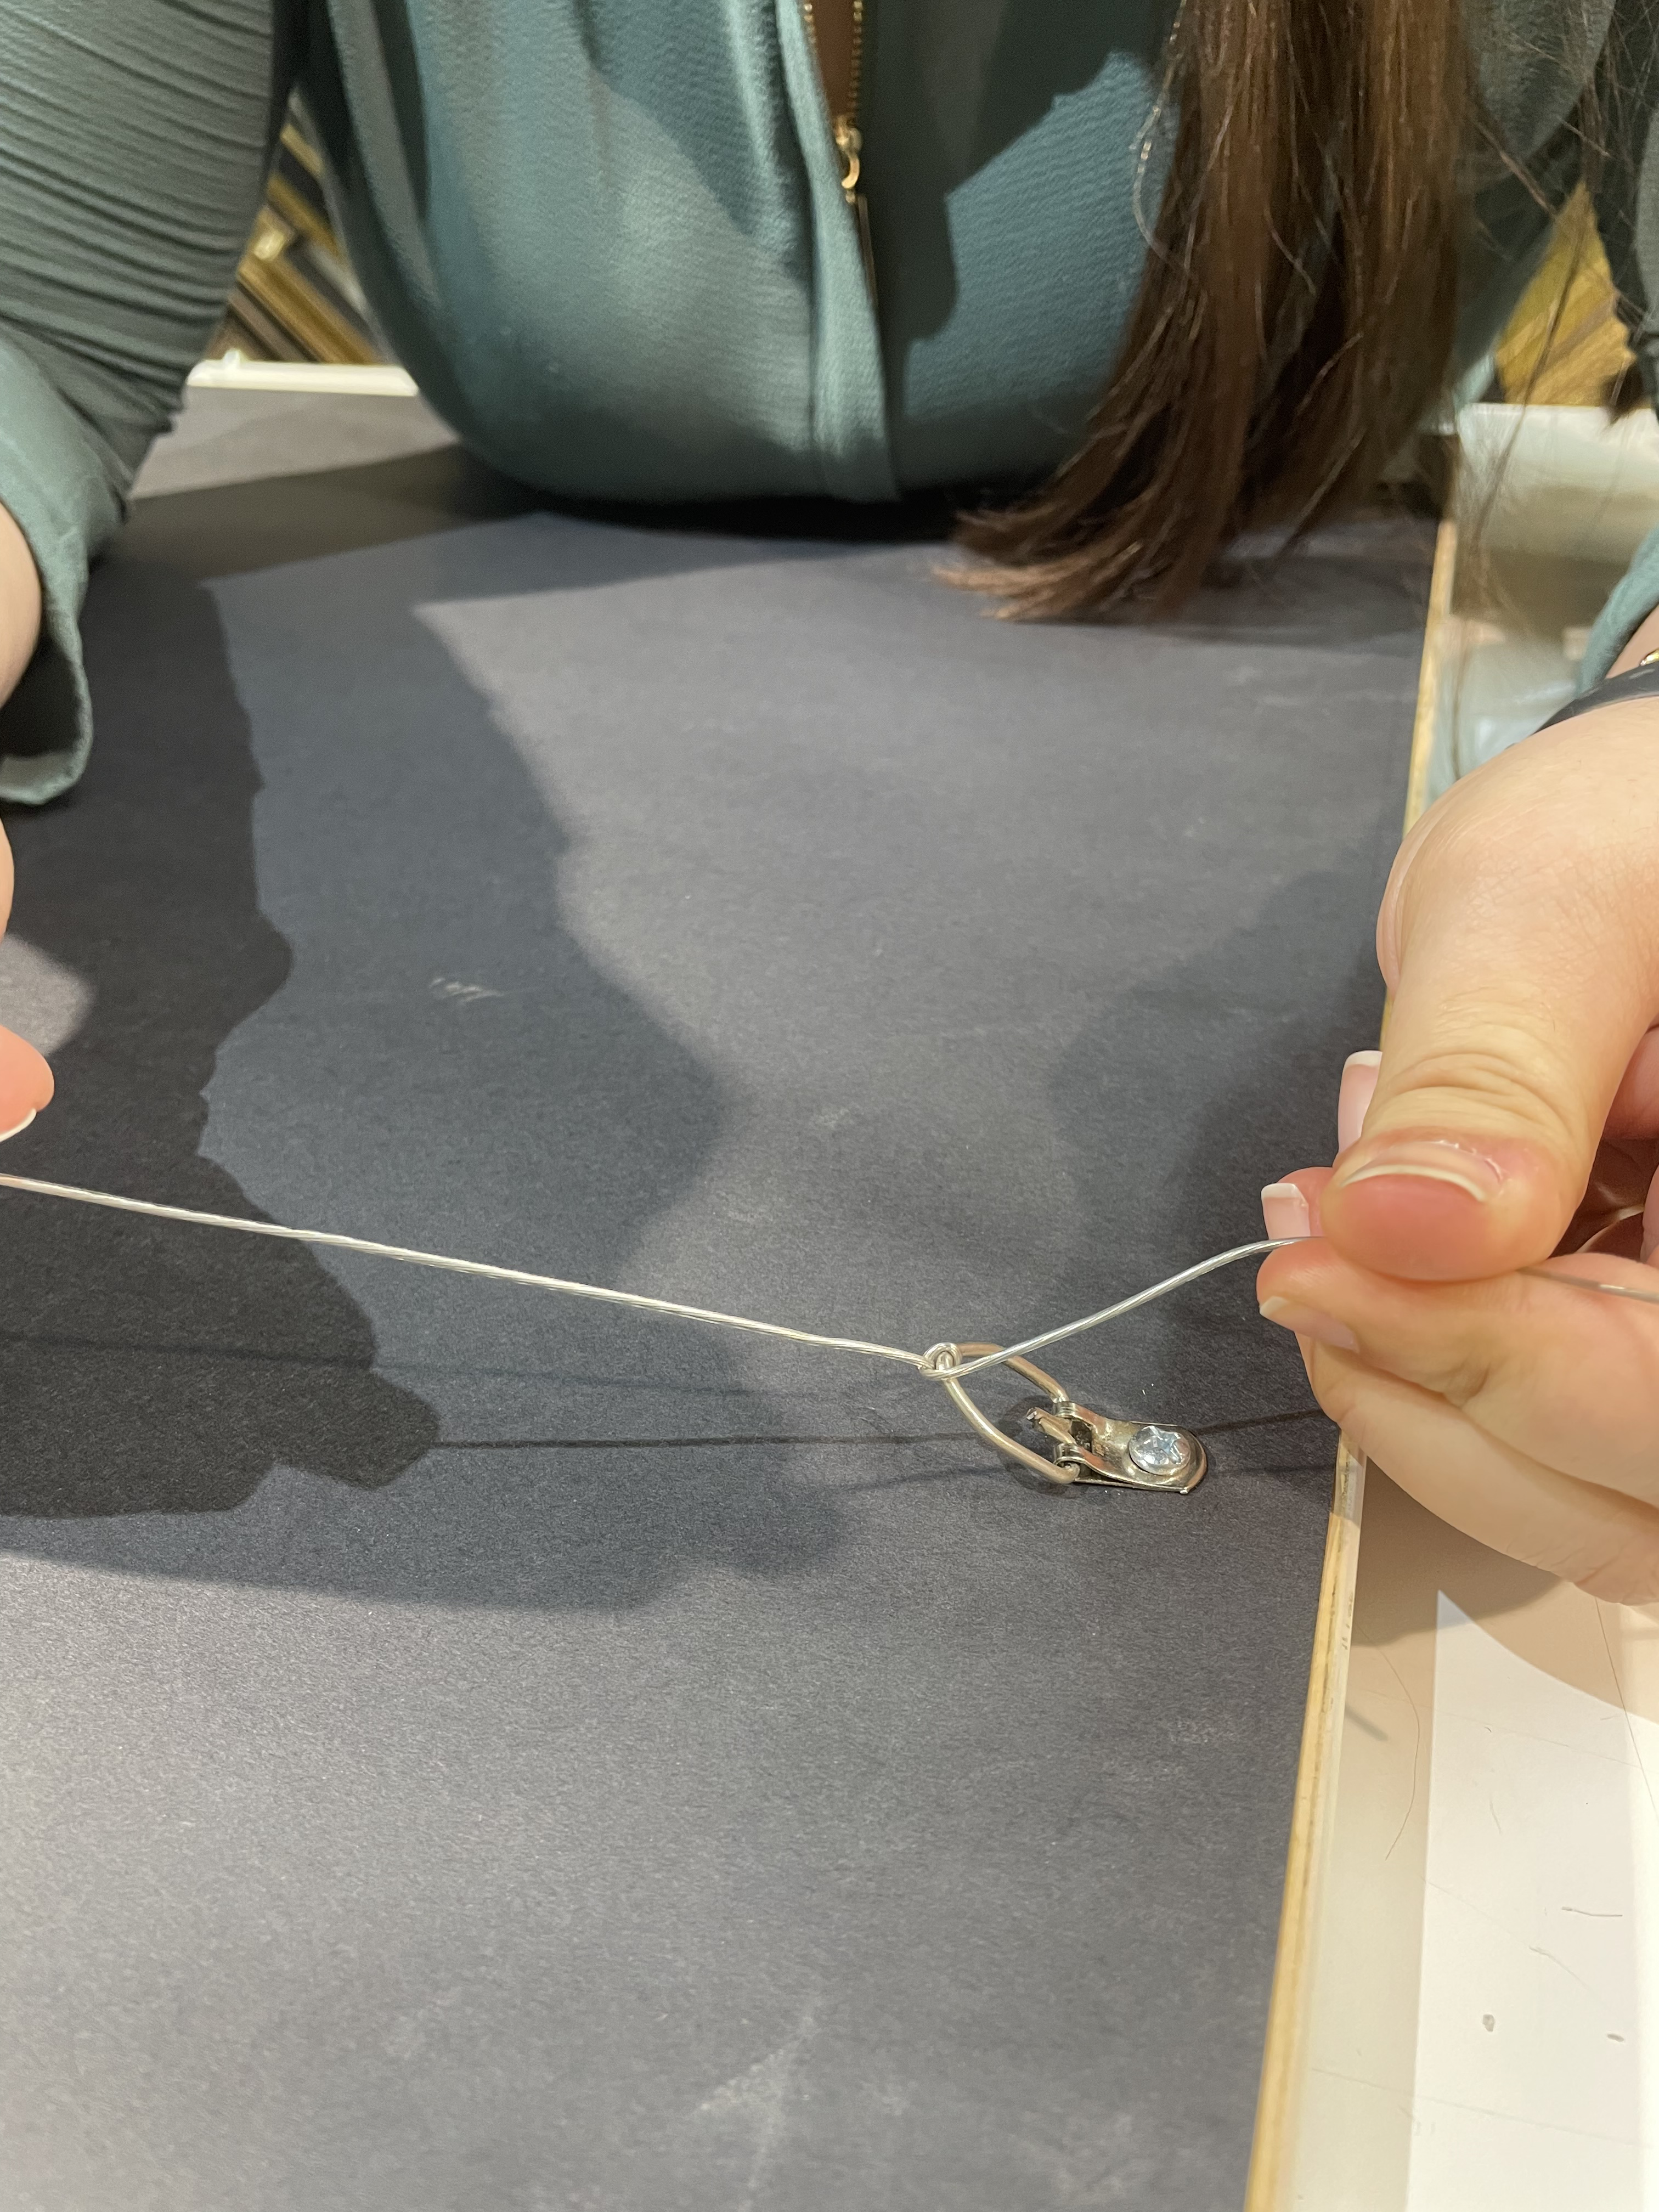
Loop the wire around
Closeup of looped wire
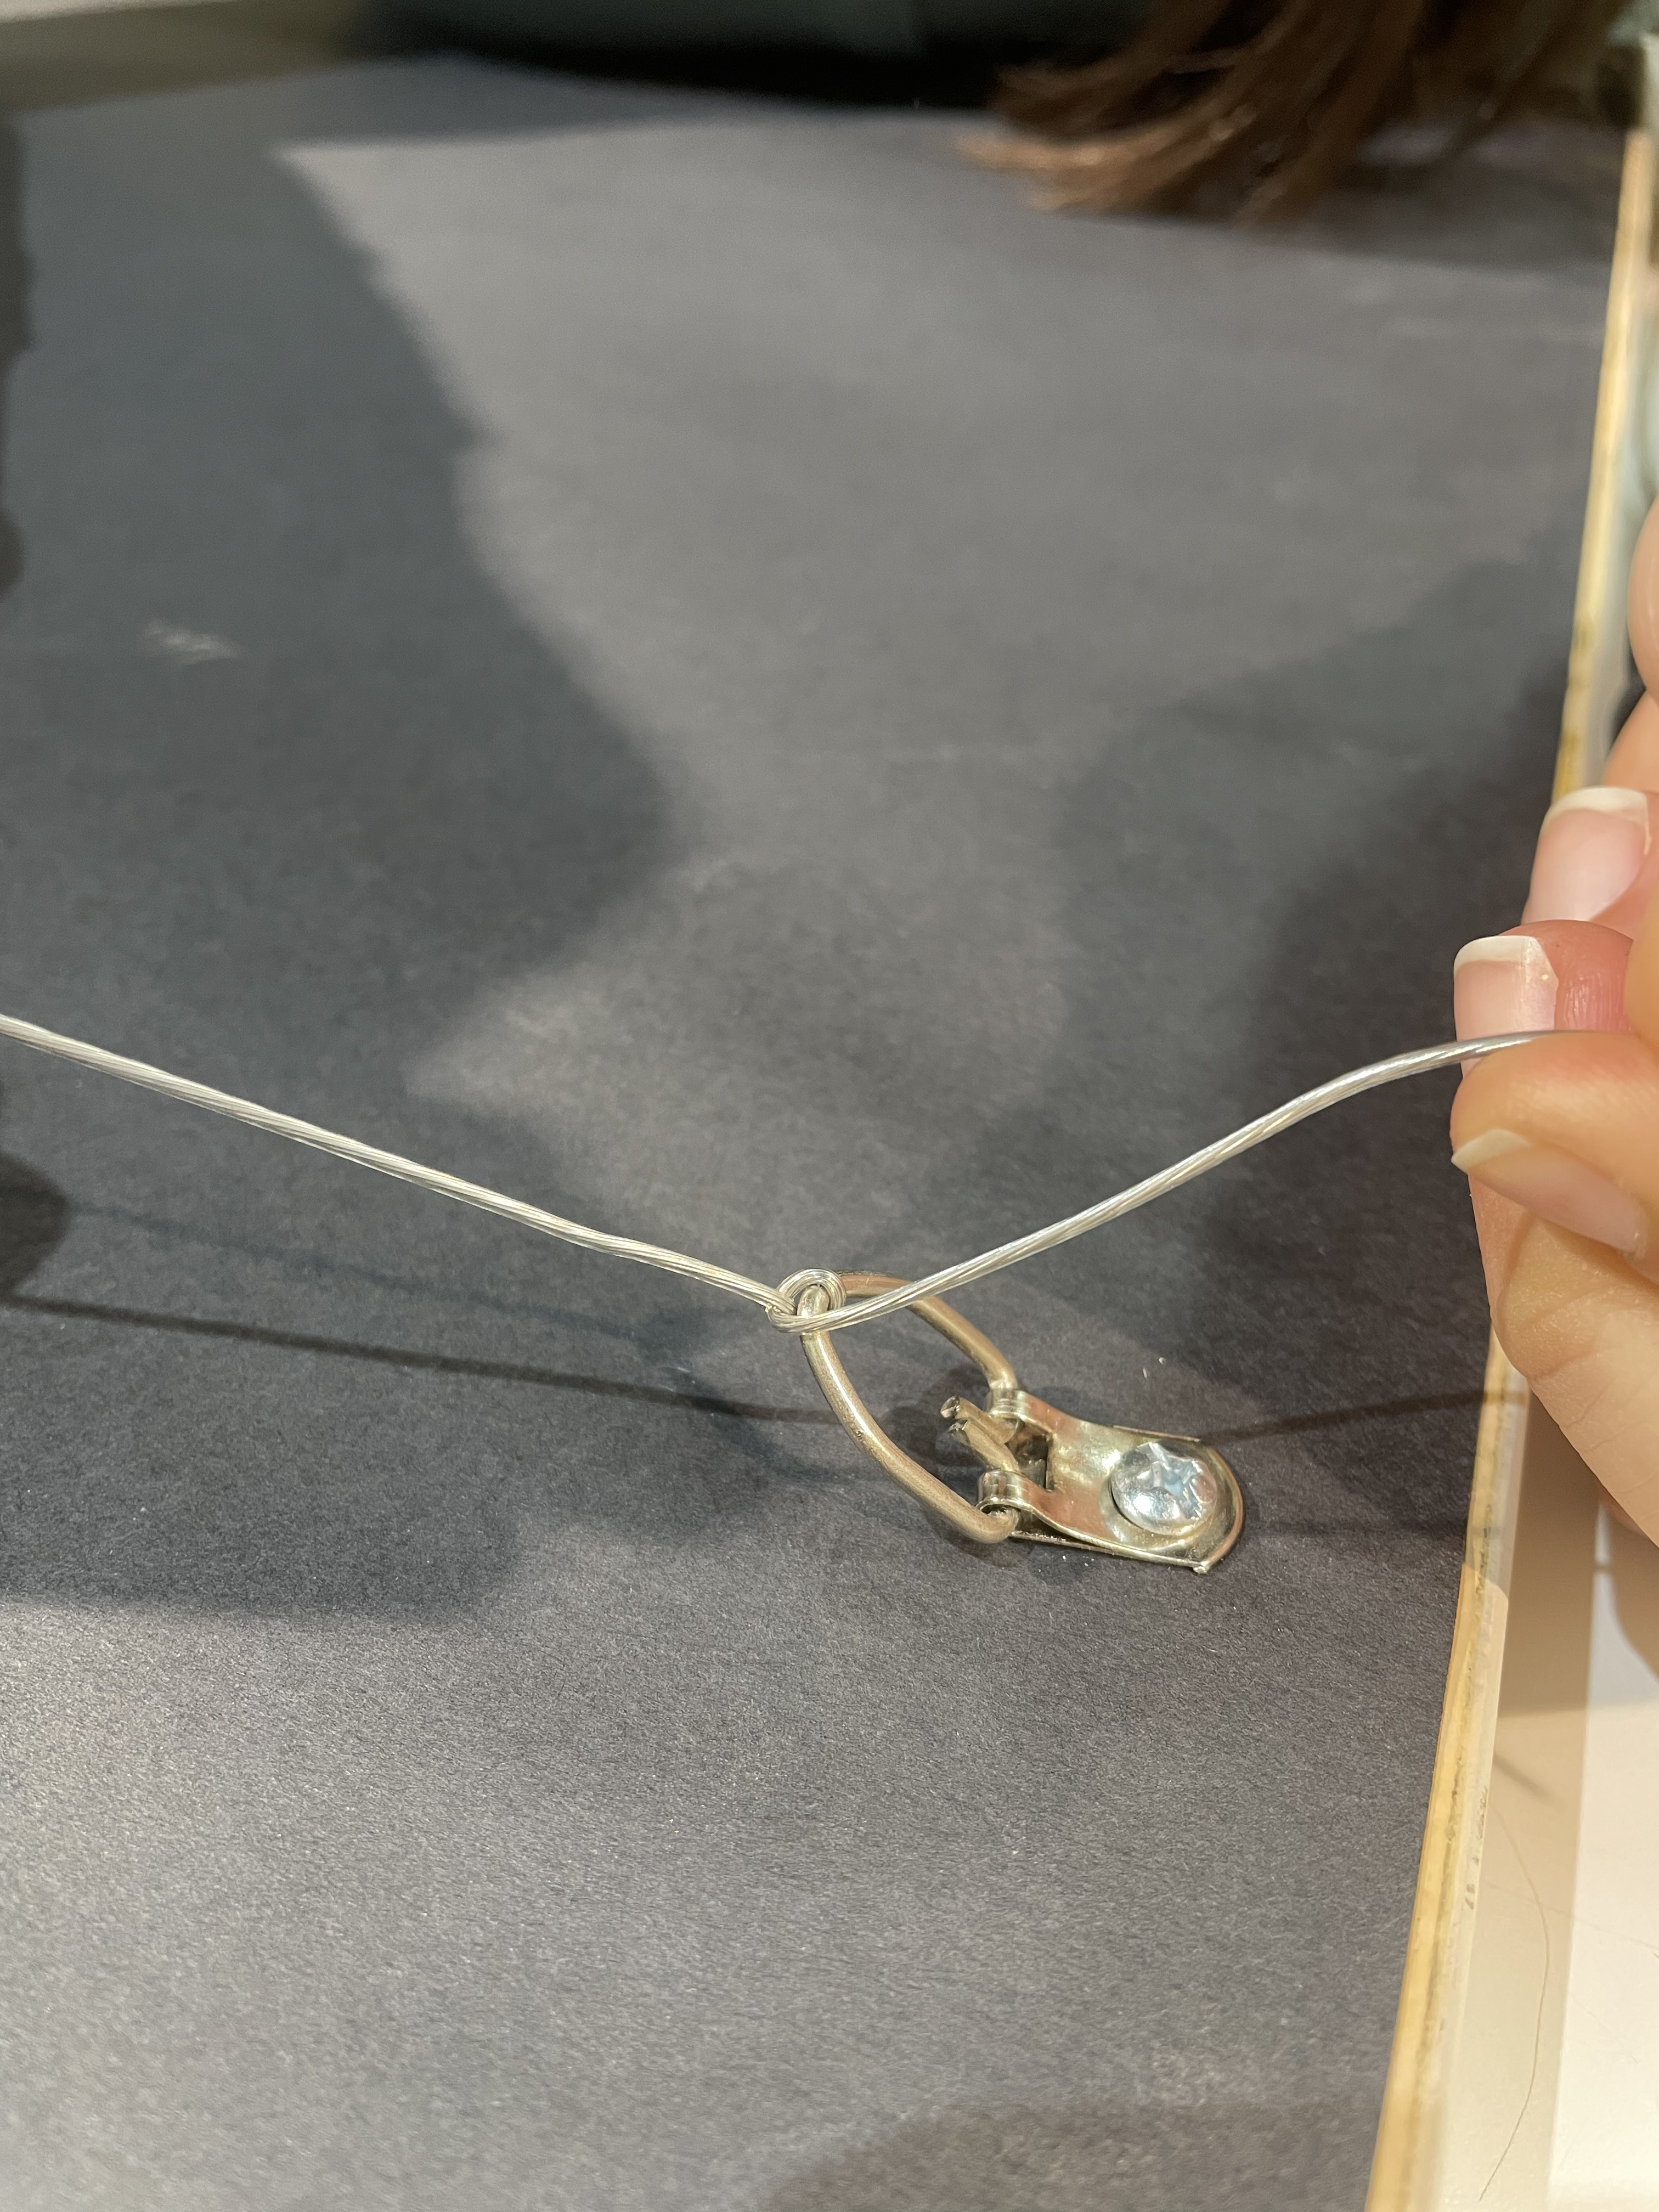
Thread the end of the wire back through the D-ring. Both sections of the wire should now be parallel to each other.
Threading the wire back through the D-ring
Threads are now parallel to each other
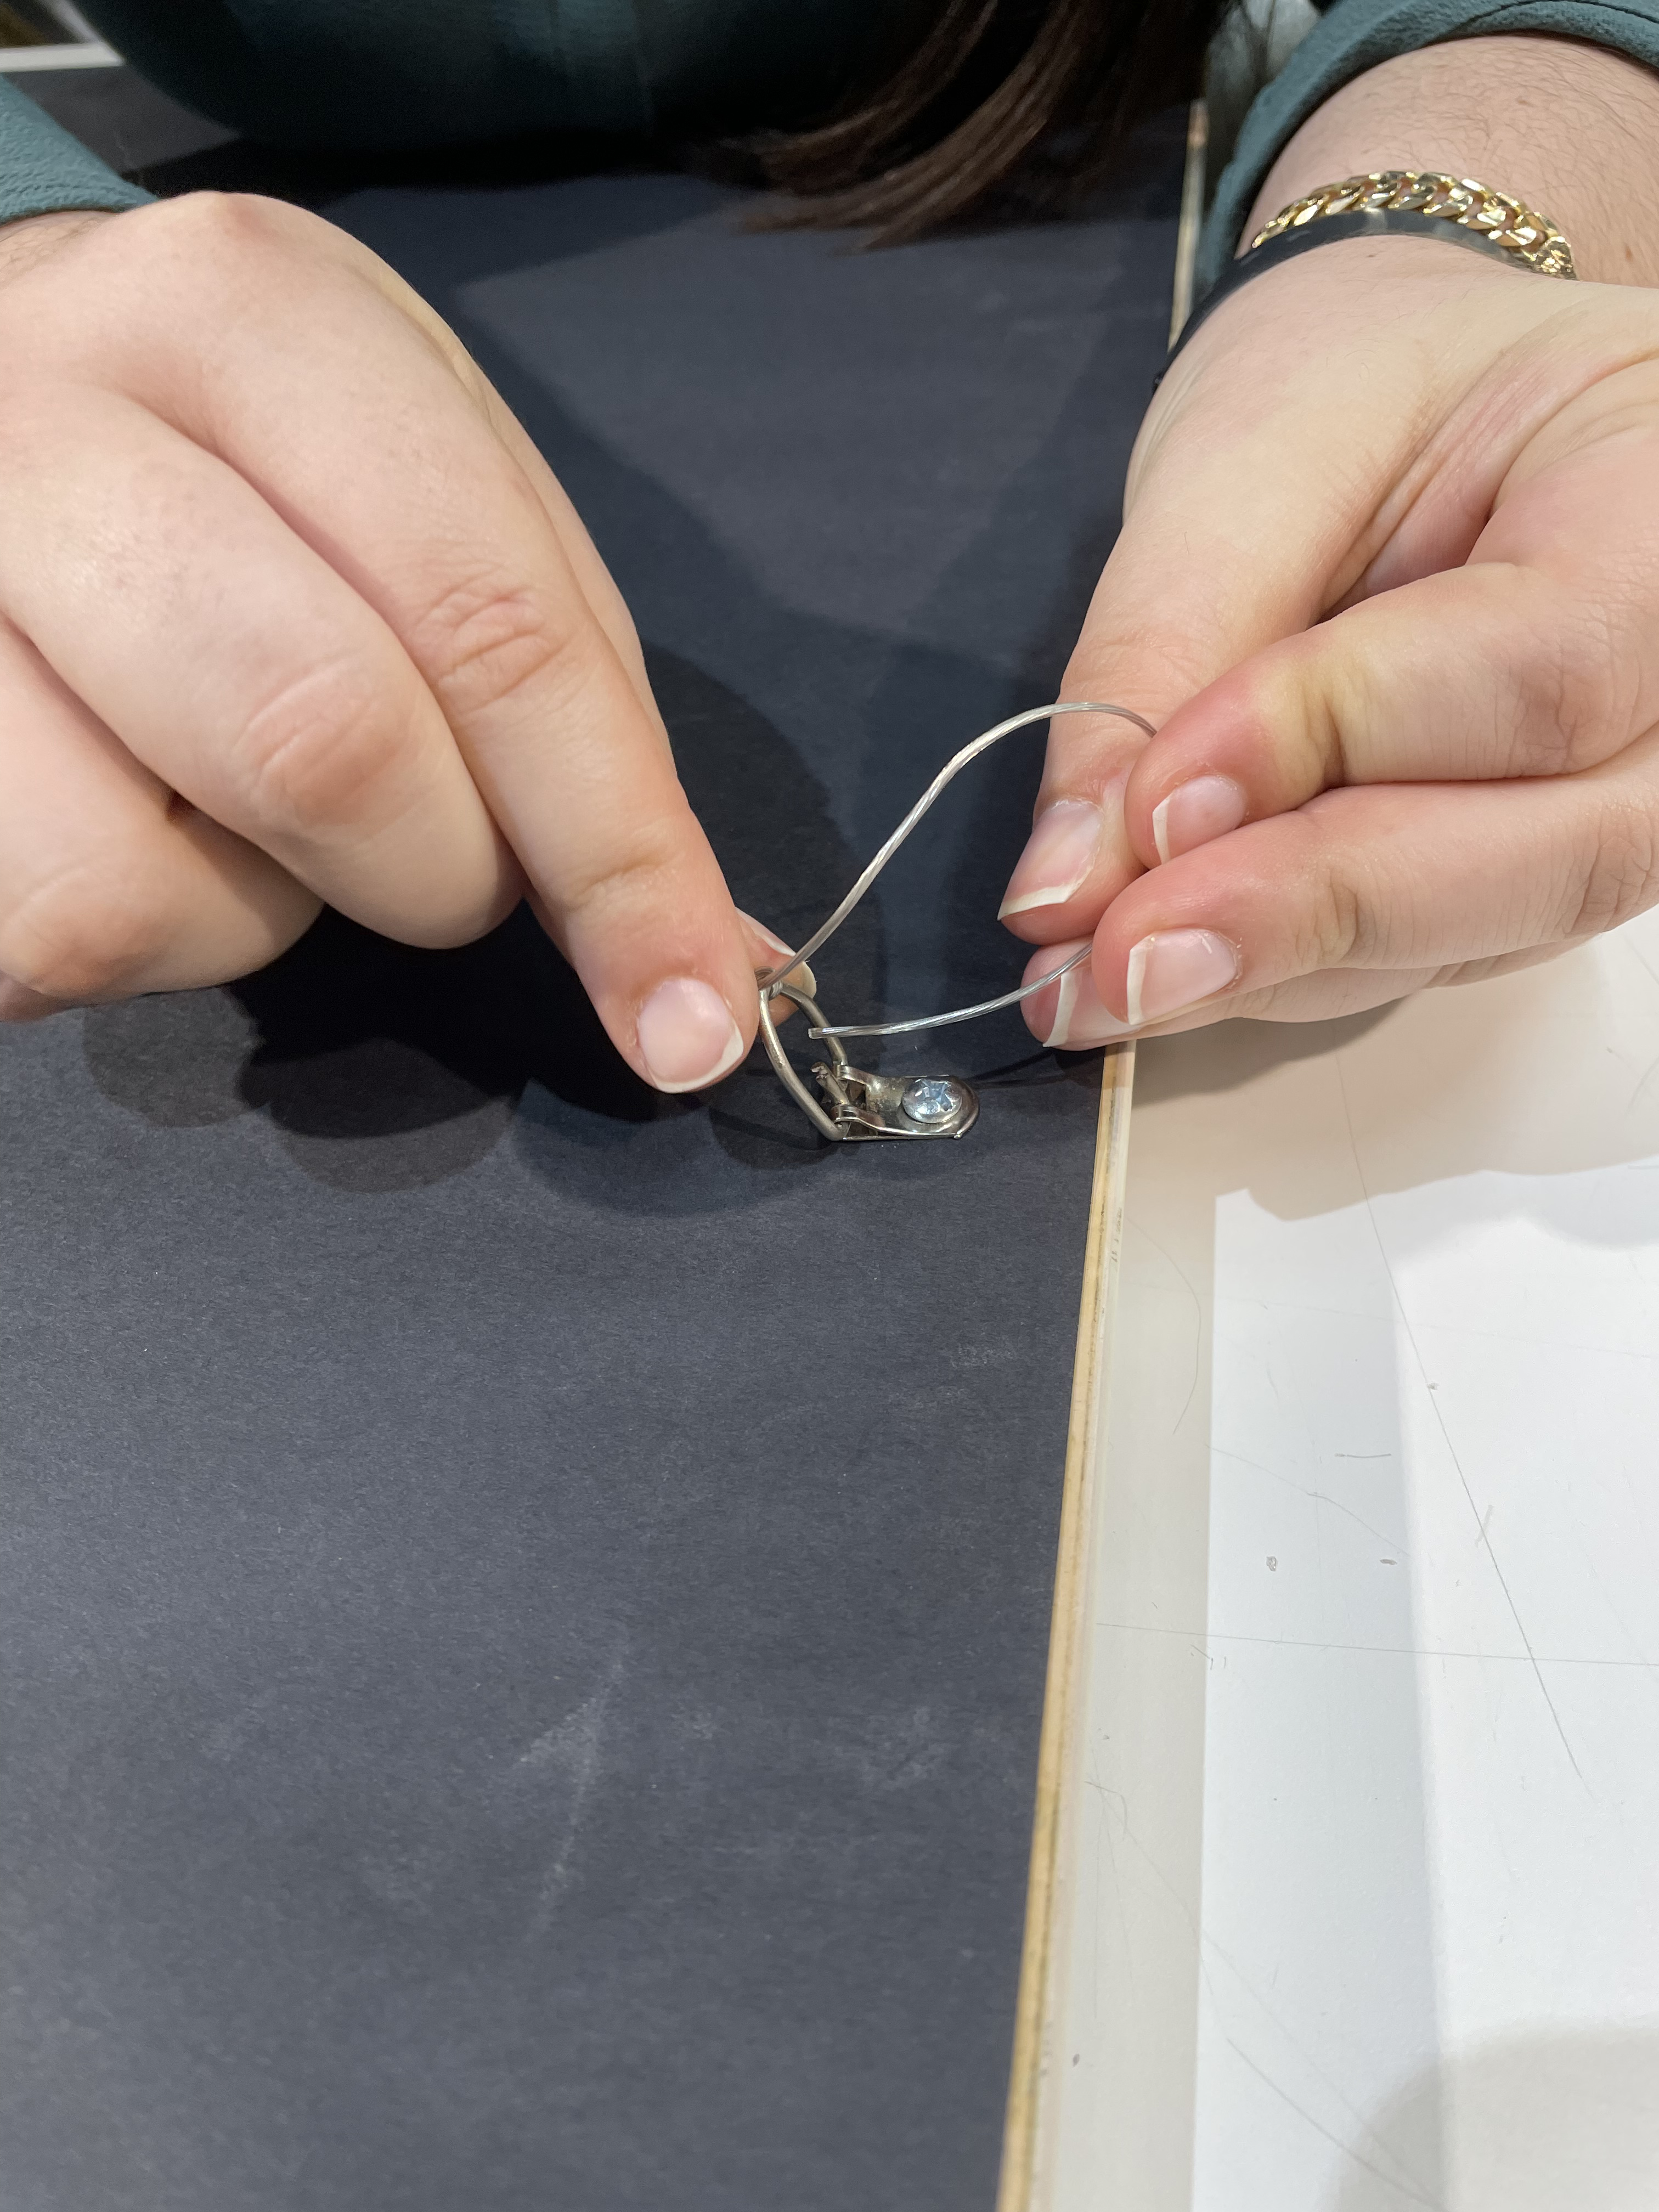
From here, wrap the rest of the end of the wire around the main section of wire repeatedly until you run out or reach a good point to trim the excess wire.
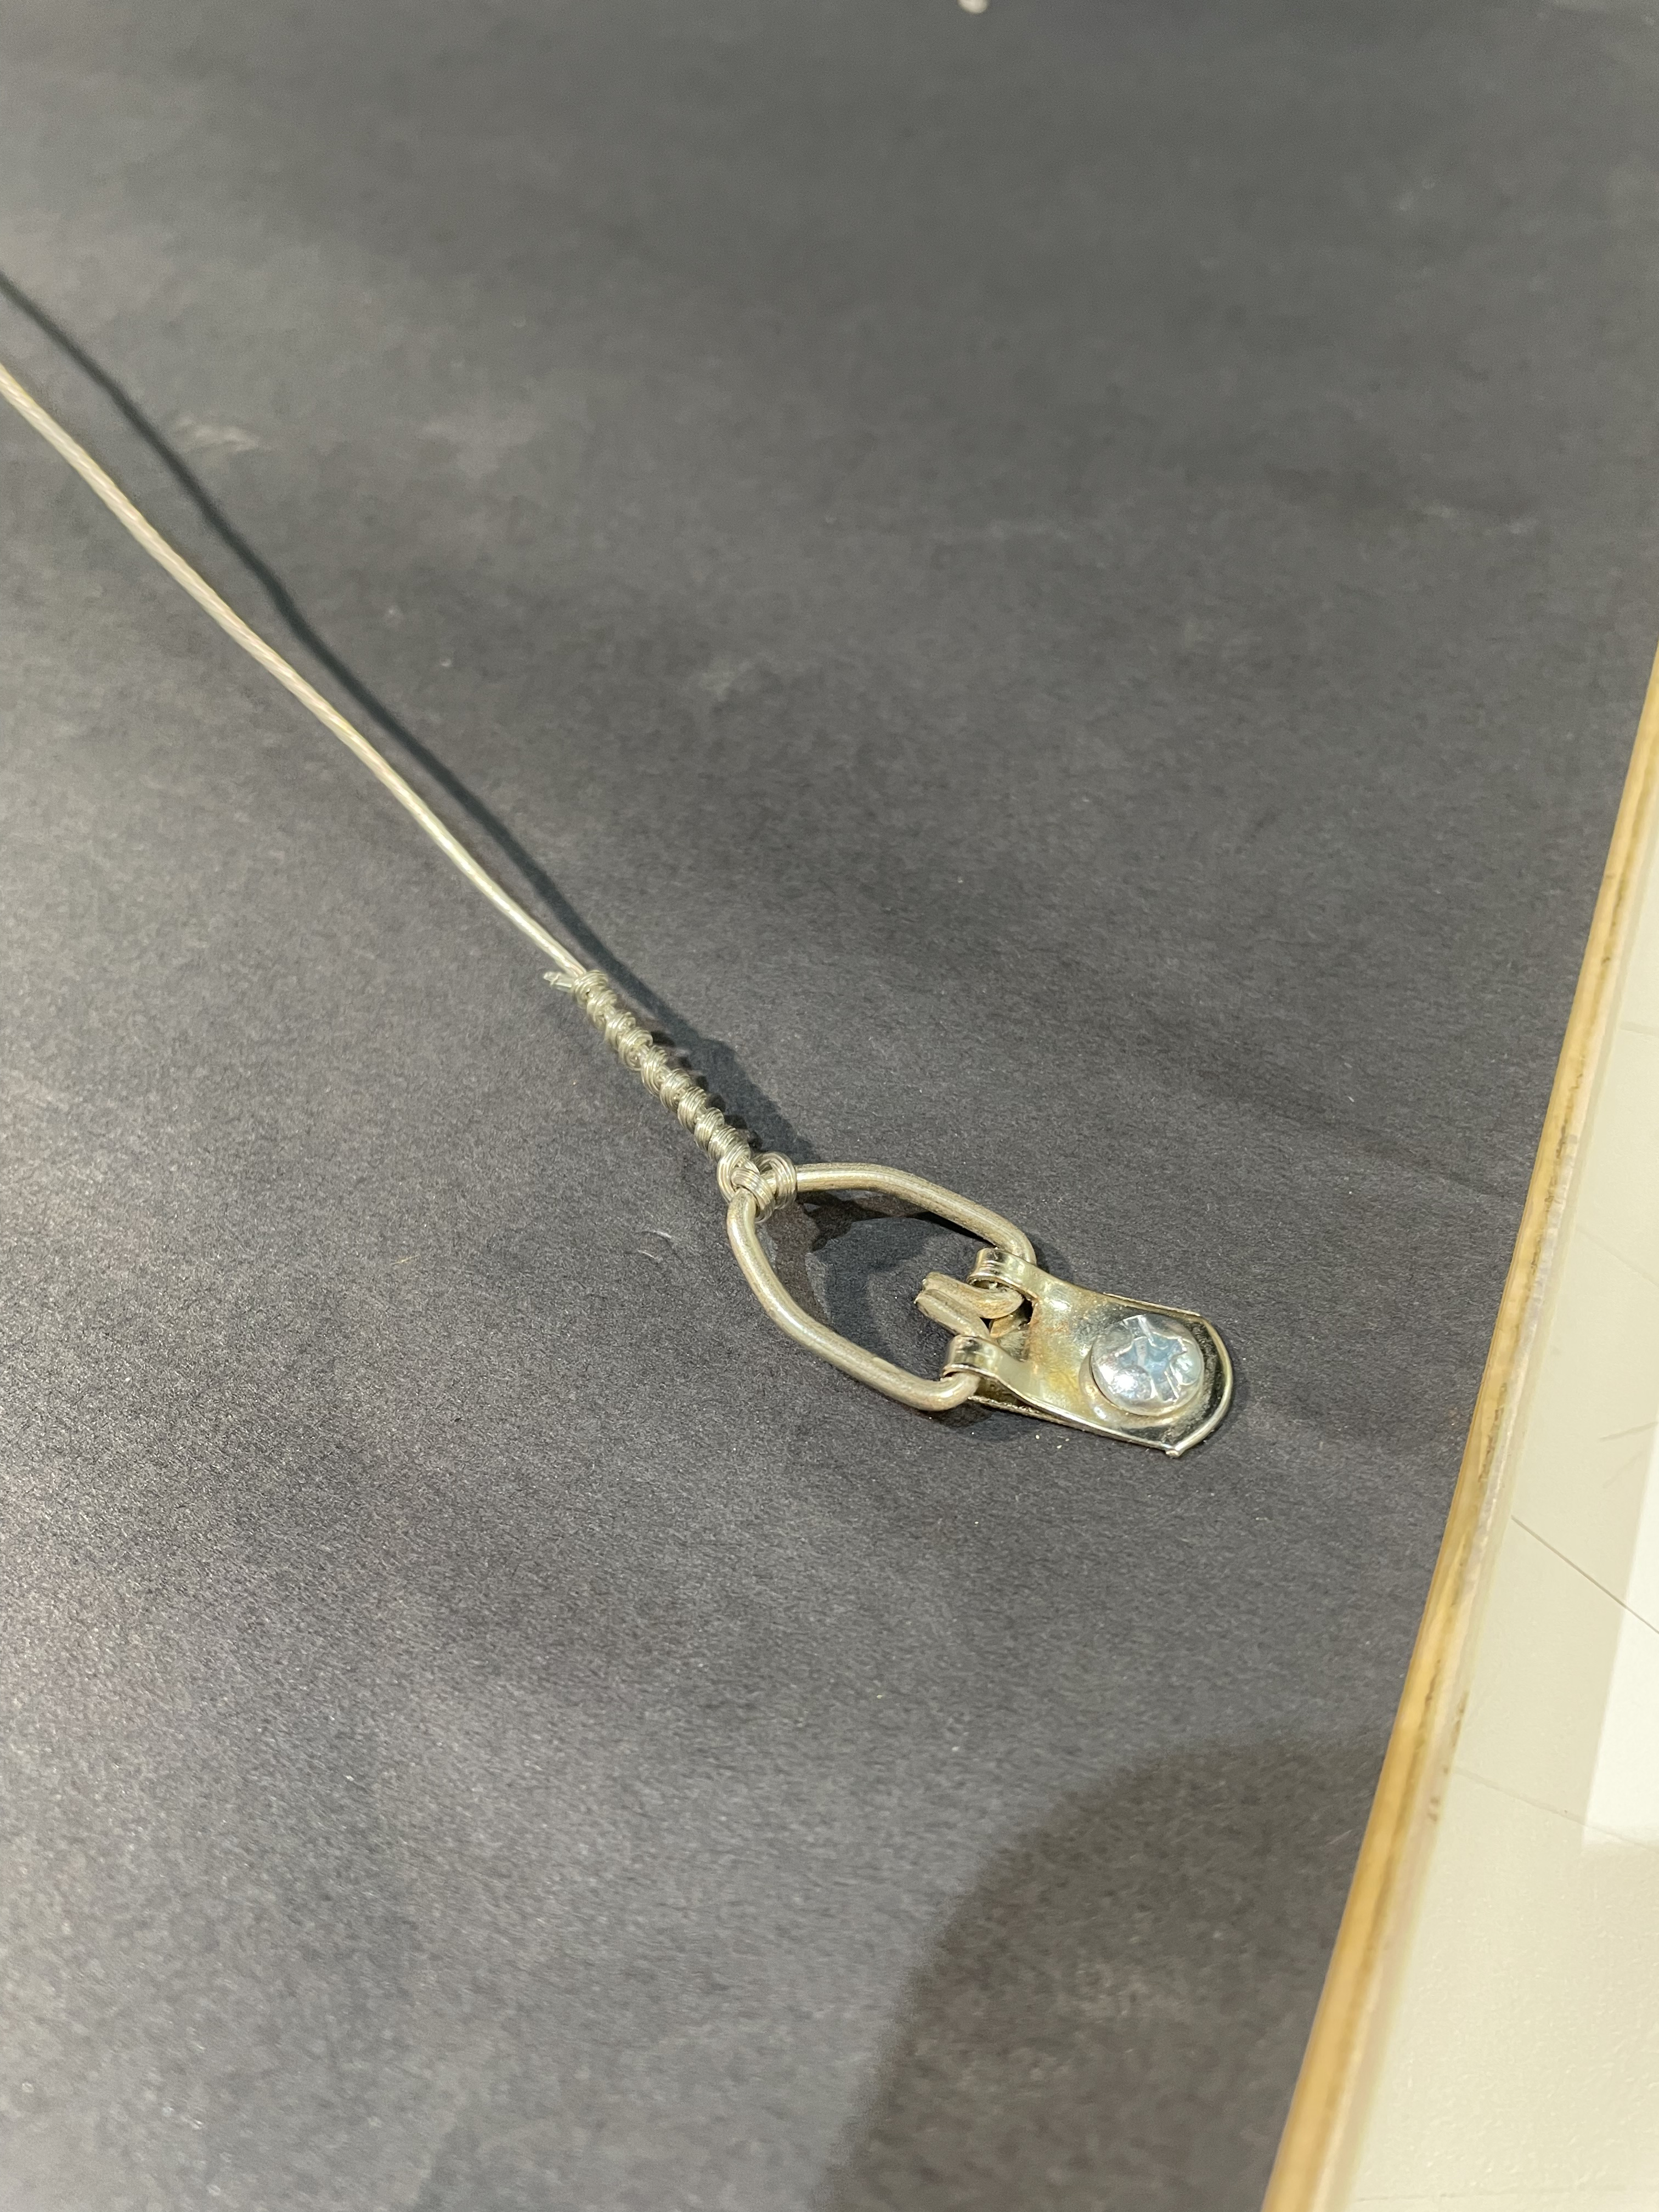
Final wrapped wire
Congrats, you’ve attached the wire to the first D-ring!
3. Bridge the gap
Now we’re going to measure out how much wire we actually need. Pull the wire towards the unwrapped, right-hand D-ring using your right hand. With your left hand, pull the middle of the wire towards the middle of the top of the frame, stopping 1-2 inches from reaching the top of the frame.

Measuring the wire - see how Isabella doesn't pull the wire to the very top of the frame but instead pulls it an inch or two from the top
Put your finger on the wire where it reaches the d-ring to hold it in place. Add another 3-4 inches of wire from that spot and cut the wire there. Remember, too much wire is better than not enough!
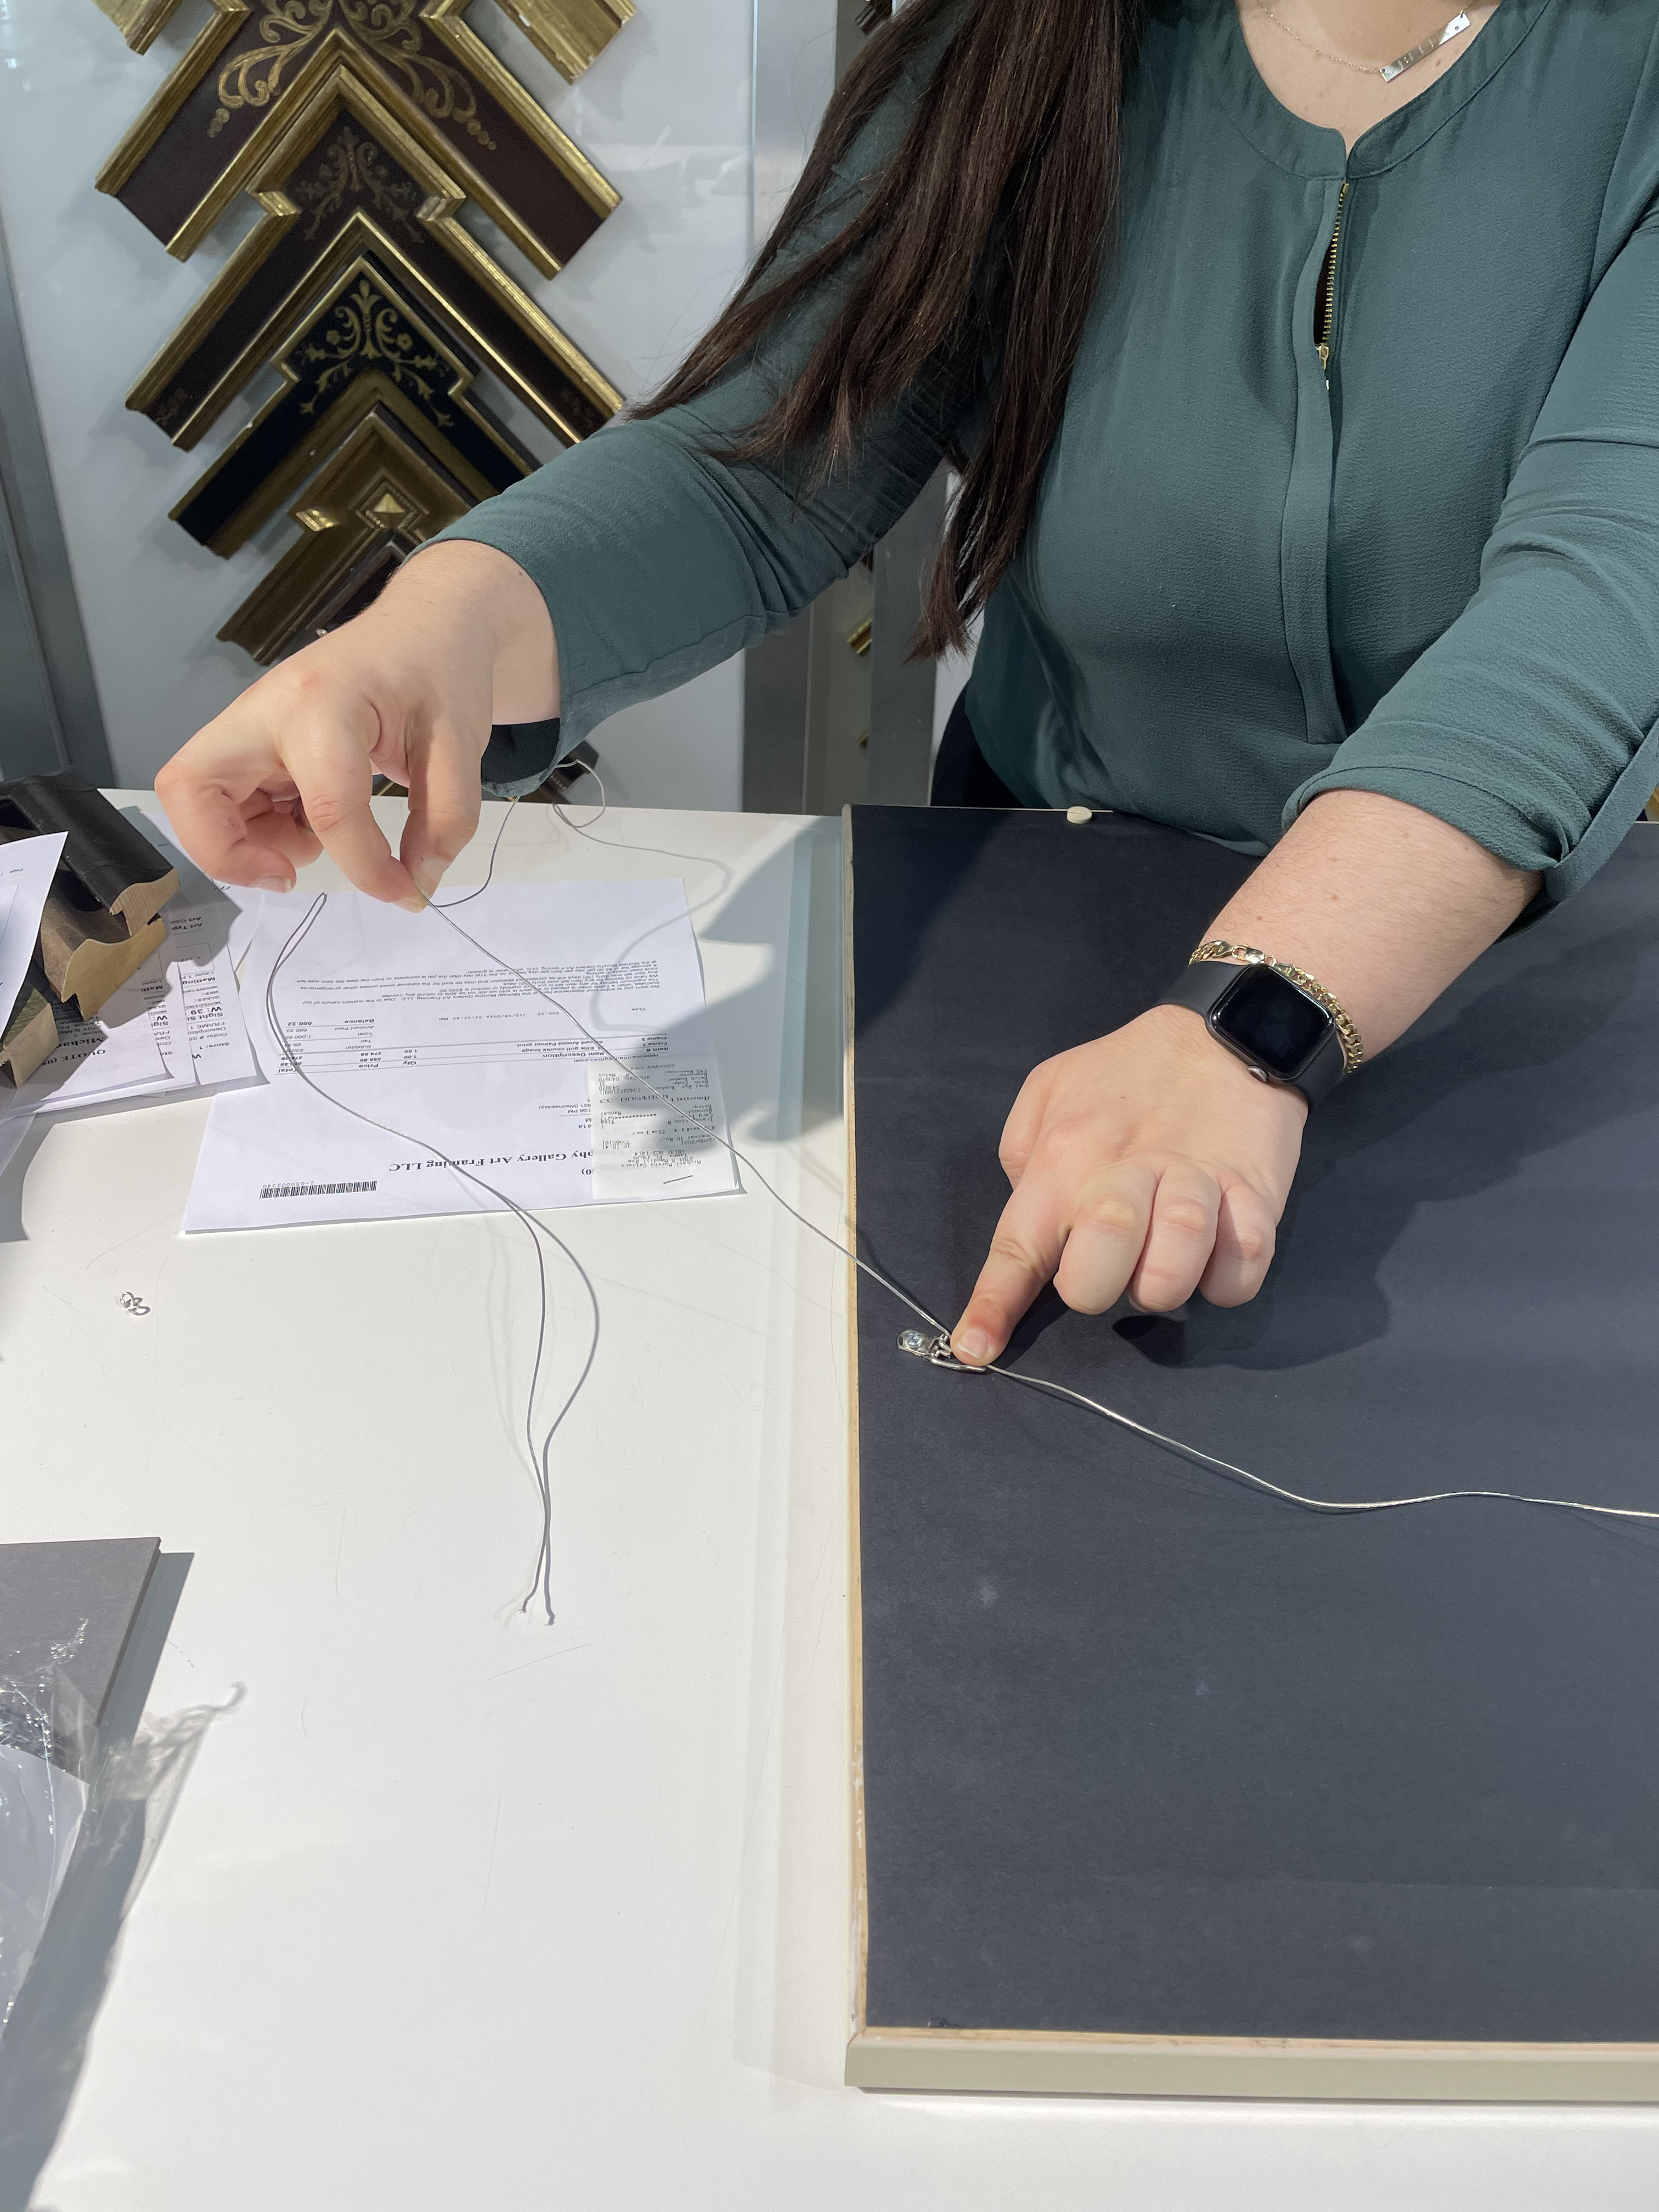
Measuring out the additional length of wire
4. The final flourish
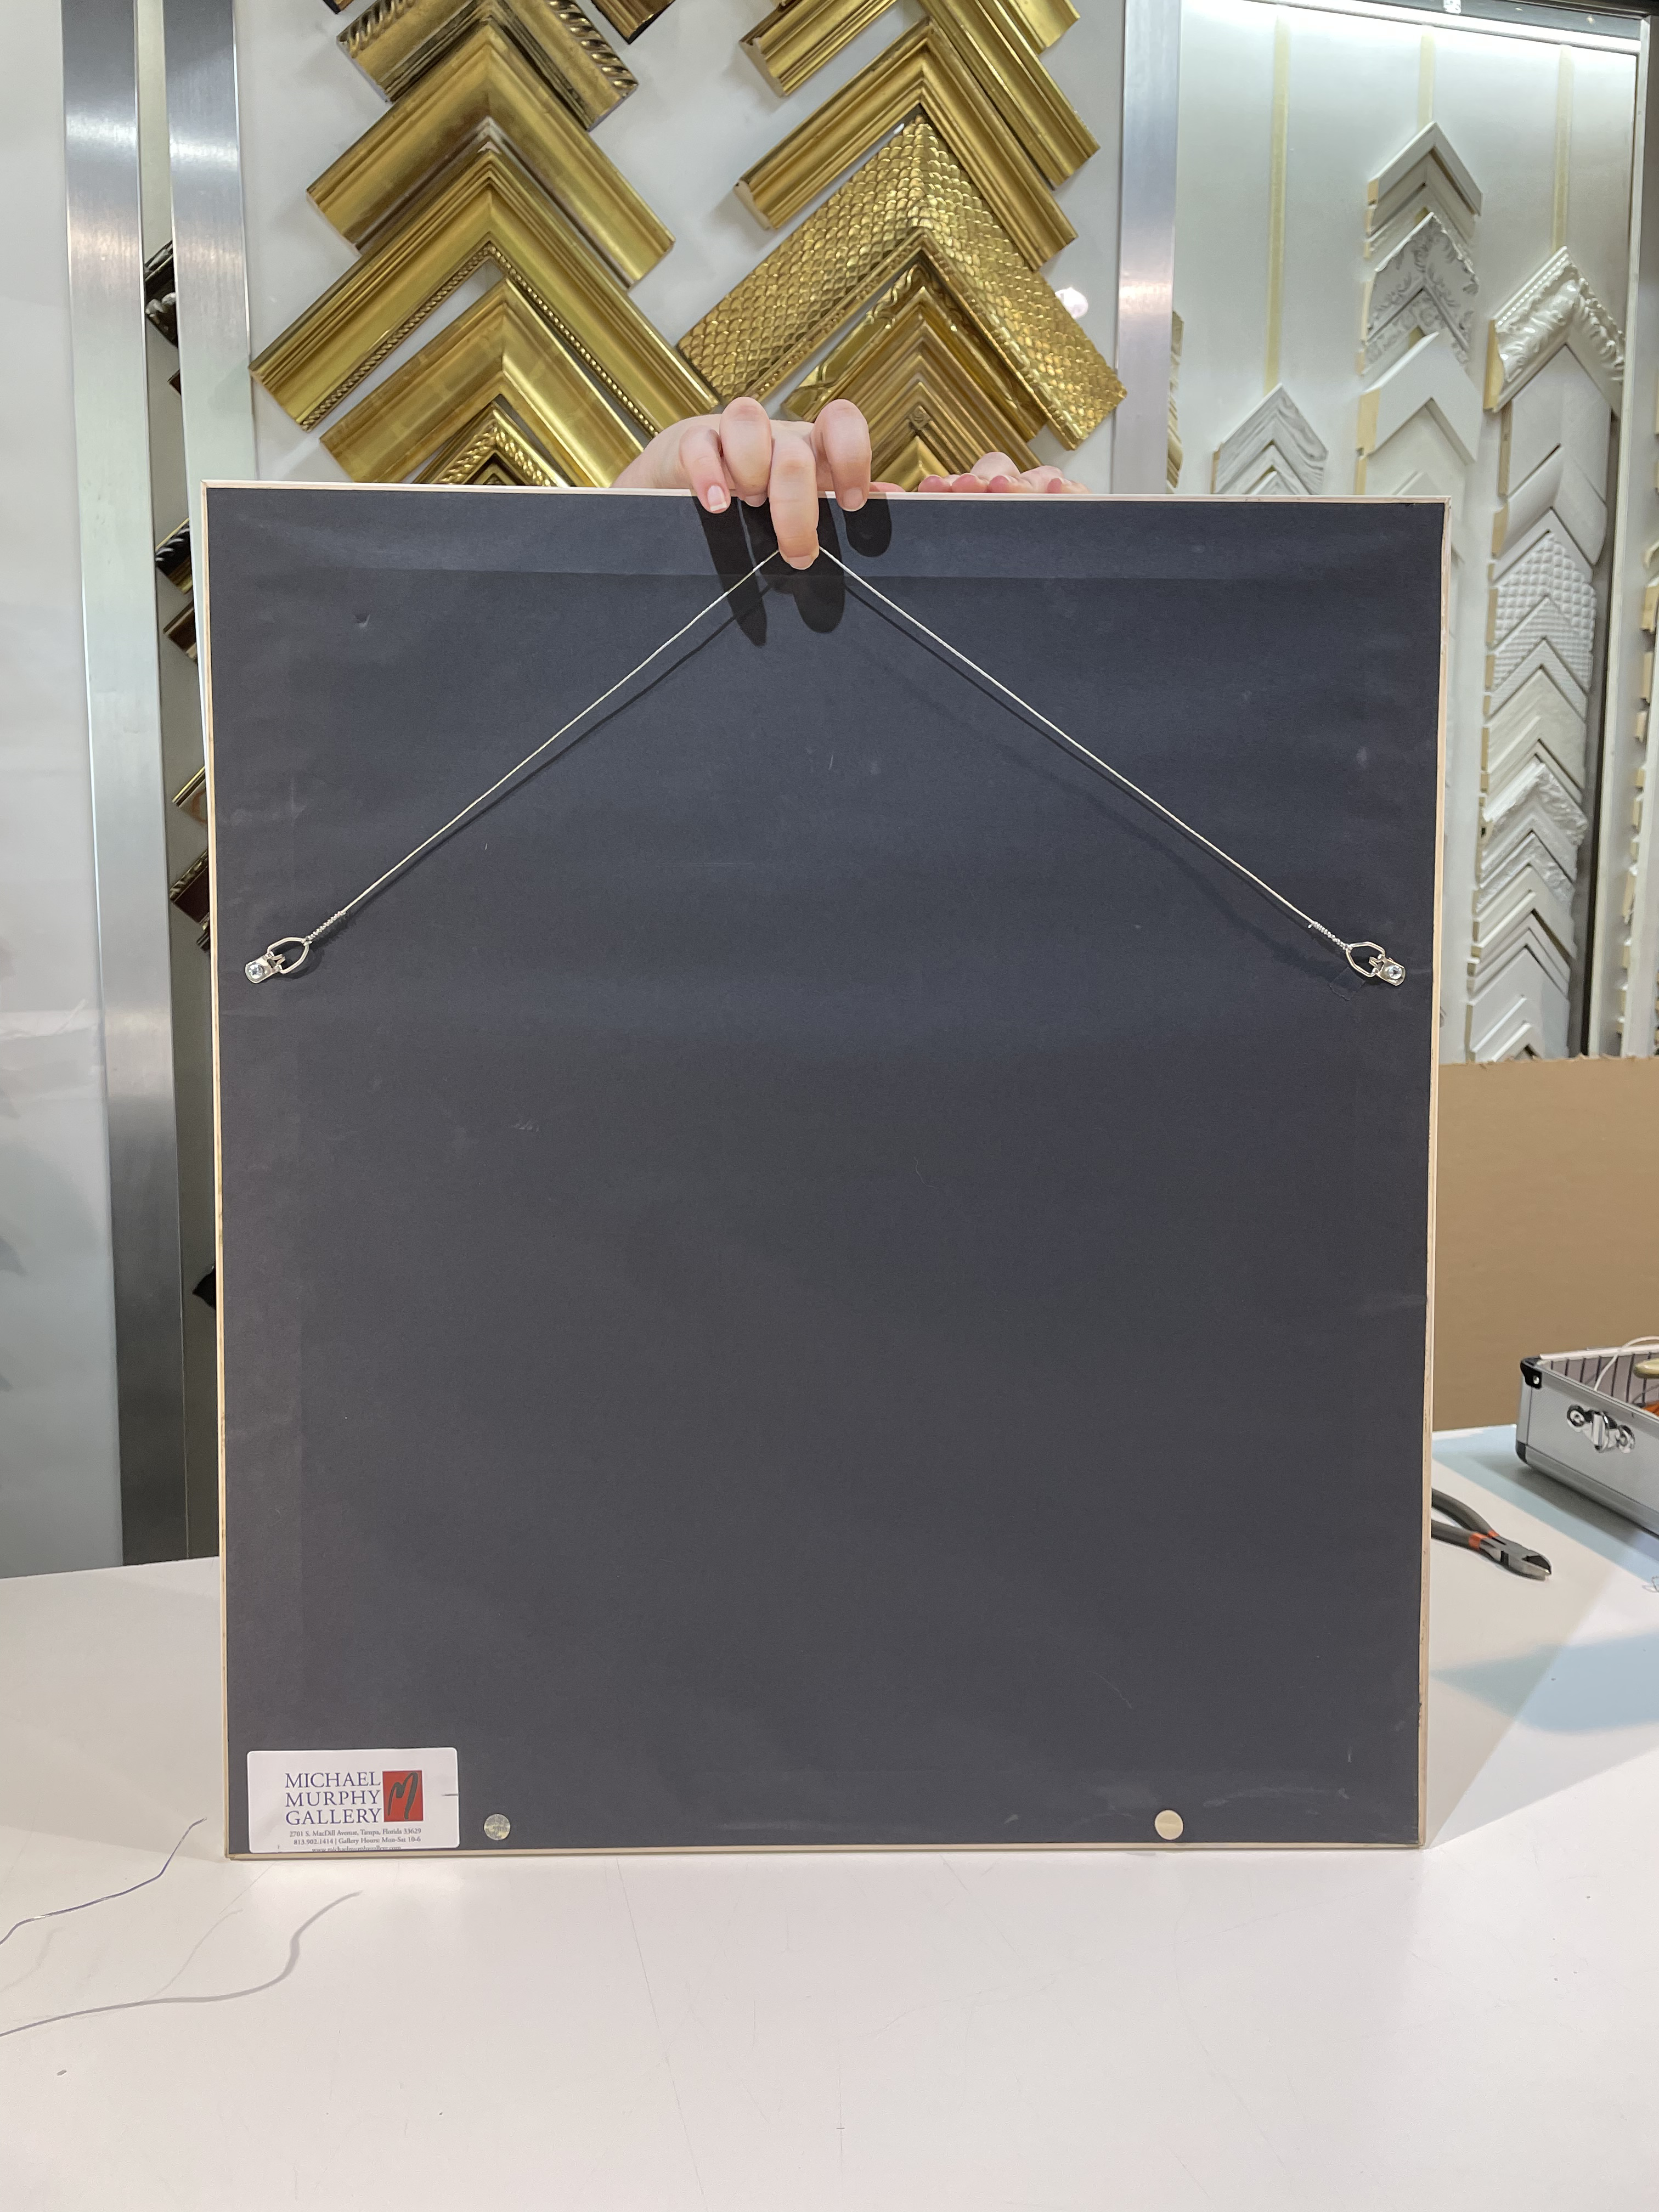
Now we’re ready to wire the right-hand d-ring! Repeat the steps from the previous ring, and you’ll have a beautifully wired frame!
Here’s a video of the process:
And here's the final product!
Questions? Concerns? Want us to take care of this for you? Bring your framing projects to our experts at Michael Murphy Gallery today! Learn more and schedule an appointment here.